
What Is Watir(Web Application Testing In Ruby)?
Watir is an open source tool developed using Ruby which helps in automating web apps. Browsers supported by Watir are IE, Firefox, Chrome, and Edge.
Features of Watir
- Automatic capturing of screenshots when testing is done.
- Page performance can be done using objects like performance. navigation, and performance.timing, performance. memory and performance. time origin. These can be obtained as connected to the browser.
- It’s easy to test file downloads from the UI.
- Easy to use APIs to test alerts and popups.
Watir Advantages
- Open source and easy to use.
- Inbuilt libraries to test page performance, alerts, iframe tests, browser windows, take screenshots, etc.
- Supported by all the latest browsers.
Watir Disadvantages
- Only supports the ruby test framework so can’t be used with other testing frameworks.
- Mobile automation is not enhanced.
Installation of Watir
- Download and install the latest version of the ruby installer from Downloads (rubyinstaller.org)
- Hit the command ‘ruby -v’ to check the ruby version.
- Hit the command ‘gem -v’ to check the gem version.
- Hit command ‘gem install watir’ to install watir. If you face any issues with installation try running cmd in ‘run as administrator’ mode and hit commands.
- Download and install ruby mine, it’s an IDE that helps write, debug, and execute code.
How to write a test in Watir?
- Open ruby mine and create a new file naming test demo.RB
- Write the below code to launch Chrome browser
require ‘watir’

  browser = Watir::Browser.new :chrome

  browser.goto(“https://www.google.com”)
Launch the Firefox browser
    require ‘watir’

    browser = Watir::Browser.new :firefox

    browser.goto(“https://www.google.com”)
To Launch the Edge browser
require ‘watir’
browser = Watir::Browser.new :edge
browser.goto(“https://www.google.com”)
To Launch the browser in headless chrome
  require ‘watir’

  Browser = Watir::Browser.new :chrome, headless: true

  browser.goto(“https://www.google.com”)
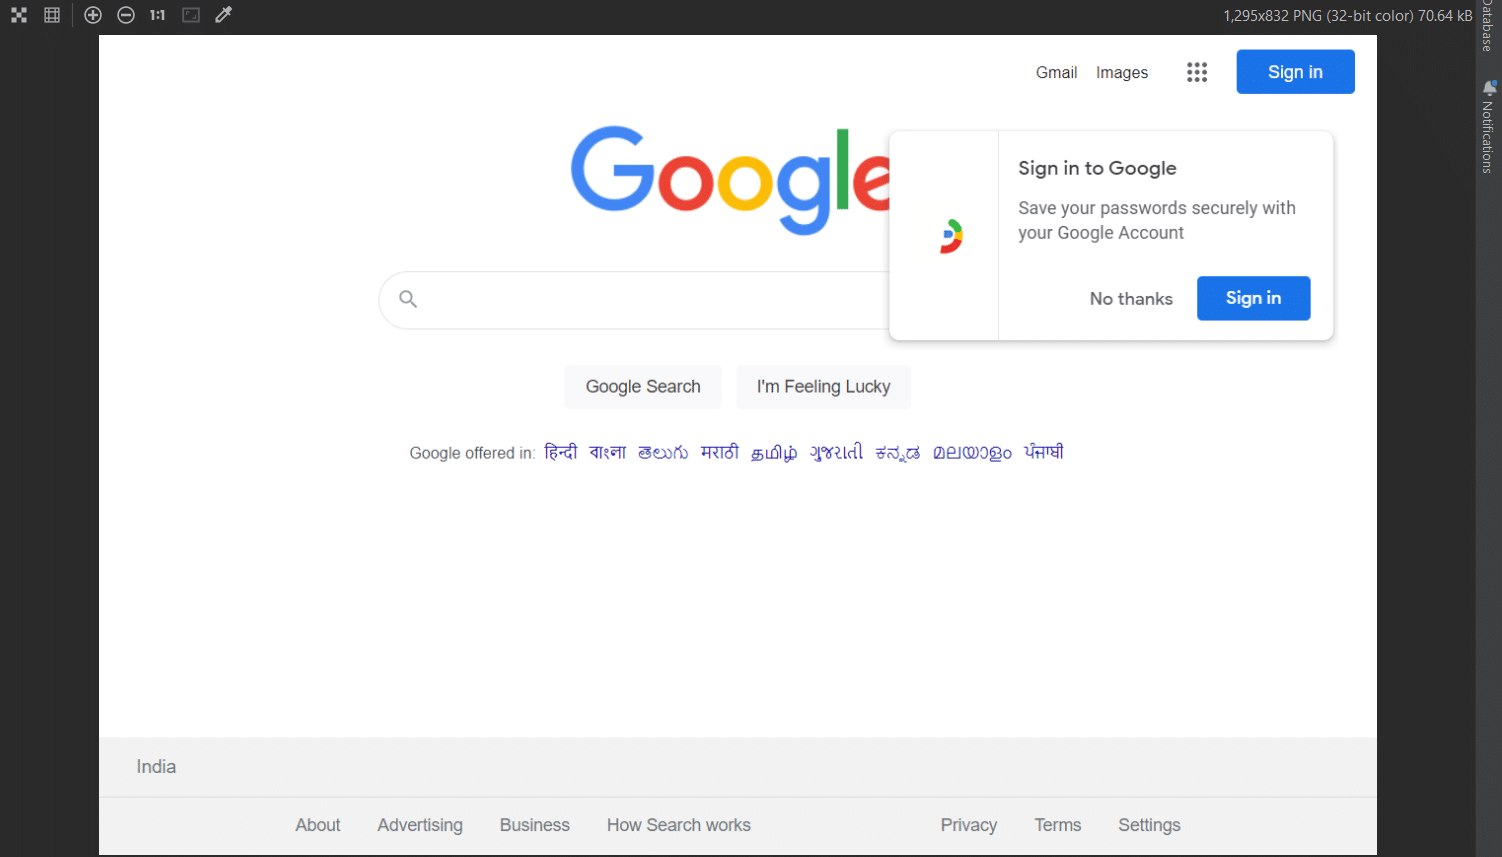
Capturing a screenshot at time of execution is an interesting feature of watir. This helps to track any issue that occurs at the time of test execution. Below is an example to capture screenshots
require ‘watir’
    b = browser = Watir::Browser.new :chrome
    b.goto(“https://www.google.com”)
    b = browser.screenshot.save 'google.png'
Screenshots will appear like this
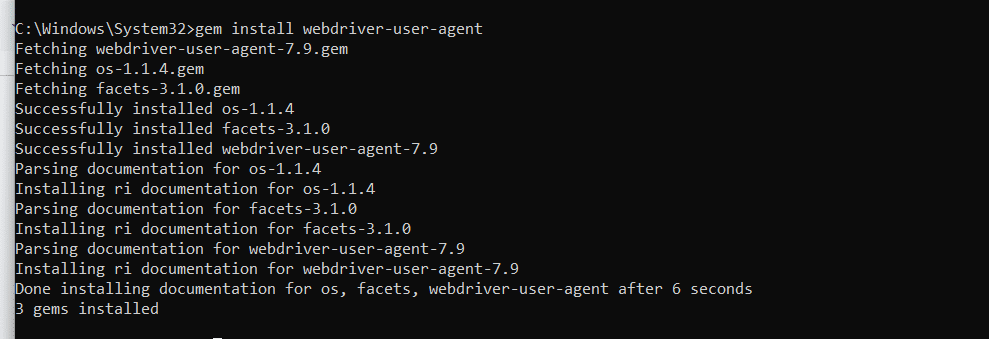
For mobile testing, use a desktop browser that will act as a device browser for testing. To do mobile testing, we need to ‘install web driver-user-agent’.
gem install web driver-user-agent
require 'watir'
require 'webdriver-user-agent'
driver = Webdriver::UserAgent.driver(browser: :chrome,
agent: :iphone,
orientation: :landscape)
browser = Watir::Browser.new driver
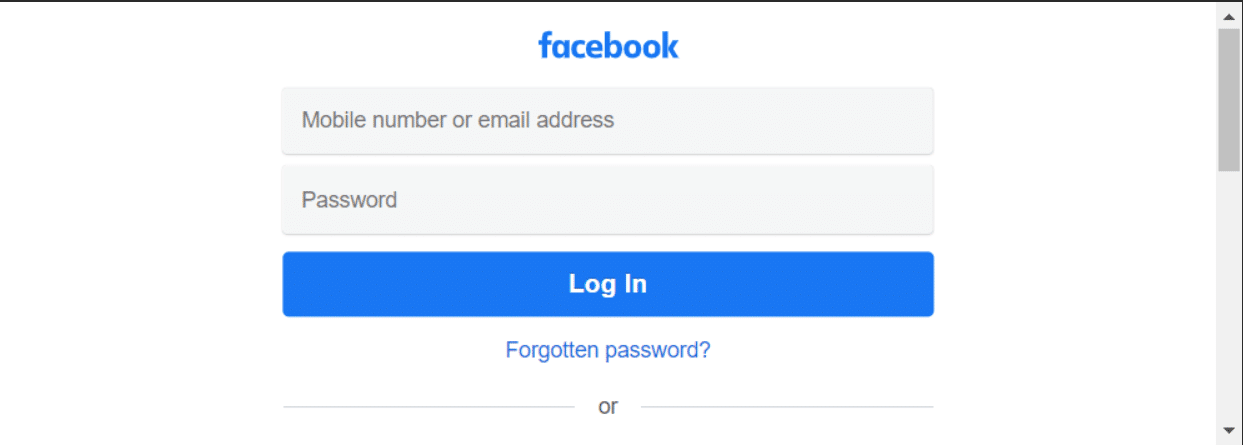
browser.goto 'https://facebook.com'
puts "#{browser.url}"
puts browser.url == 'https://m.facebook.com/'
Above code will launch the browser in landscape mode.
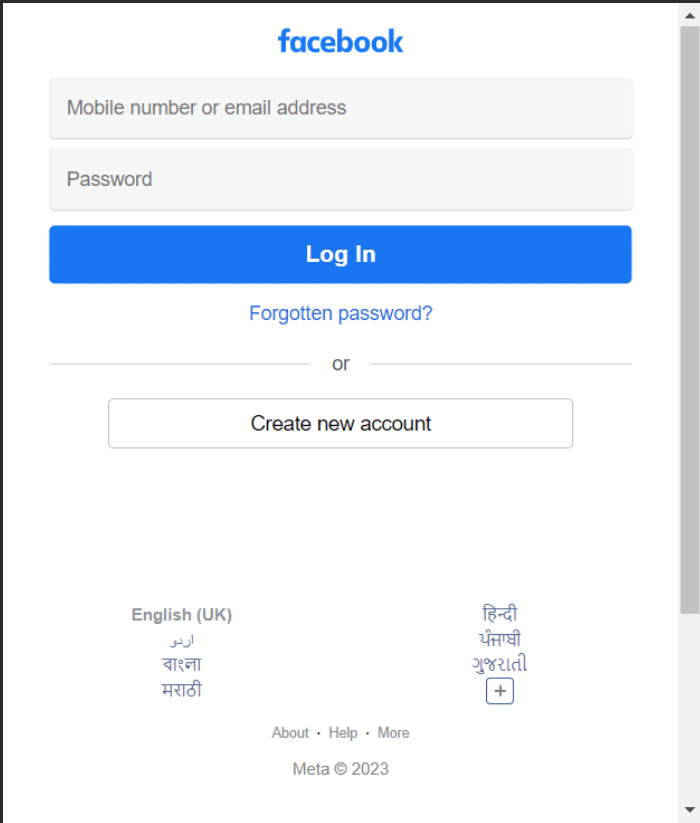
This will launch the browser in portrait mode
require 'watir'
require 'webdriver-user-agent'
driver = Webdriver::UserAgent.driver(browser: :chrome,
                                                            agent: :iphone,
                                                            orientation:   :portrait)
browser = Watir::Browser.new driver
browser.goto 'https://facebook.com'
puts "#{browser.url}"
puts browser.url == 'https://m.facebook.com/'
Related Post:-


