
About Robot Framework and Some of its Core Features
Robot Framework is a generic open-source automation framework. It can be used for test automation and robotic process automation (RPA).
Some Features
1. Easy for beginners
2. Simple Tabular Syntax
3. Data-driven Test Cases
4. Generic test libraries
Robot Framework Installation For Windows OS
With the following steps, you can install Robot Framework in Pycharm
Step 1: Check if python already installed on your system
Open command prompt
Type “python -version”
You should get a version number, else you should install python
Visit the following link to download the latest version of python:
https://www.python.org/downloads/
Step2: Download & Install Python
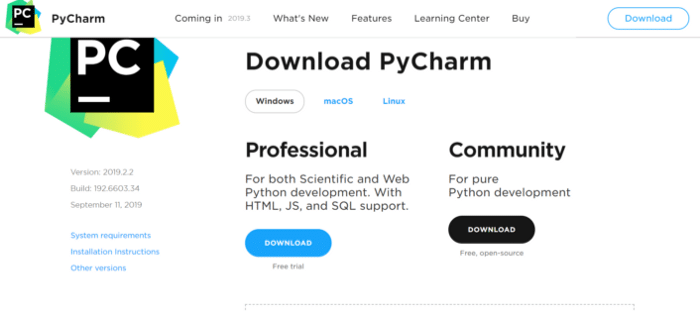
Step3: Download & Install Pycharm
To download the pycharm visit the following link and download the community version:
https://www.jetbrains.com/pycharm/download/#section=windows
Step4: Set Python in the Environment Variables0
To set the path follow the following steps:
i) Right Click on This PC
ii) Click on Properties
iii) Select Advance system settings
iv) Select the Advanced tab
v) Click in Environment Variables button
vi) Click on the New button under User Variable and System Variable
* Type Path in Variable name and paste python path till scripts folder in Variable Value
(- C:\python39\Scripts) (This path will depend on the location where you have installed the python.)
Note: If you have not set the path at the time of download python will get stored inside AppData
folder present in your system as shown in the below example:
Example: C:\Users\ddev0\AppData\Local\Programs\Python\Python39
vii) Click on the Ok button
Step5: Install Robot Framework, Selenium and Selenium2Library
– pip install robot framework-selenium2library
Step6: Open Pycharm
Step7: Install the Plugins
– File -> Settings -> PlugIns
– Browse Repositories -> Search Intellibot, Robot Framework Support
– Install the Plugins “Intellibot, Robot Framework Support” & restart Pycharm
Read Also:- Robot Framework Integration with TestRail
Create and Run Test
As our setup is done so let’s see the protractor in action by creating a simple test to automate google search.
Note: Create a new project and suite.
Create a new file inside a suite you have created namely “Gmail.robot”.
*** Settings ***
Library OperatingSystem
*** Variables ***
${path} C:\\Users\\ddev0\\Downloads\\driver\\chromedriver
${url}
${browser} chrome
*** Test Cases ***
Set Environment Variable ${driver} ${path}
Open Browser ${url} ${browser}
Input Text ID=identifierId xyz@gmail.com #useremailaddress
Click Button xpath=(//button[@type=”button”])[3]
Input Text ID=password abc123 #userpassword
Click Button css=button.VfPpkd-LgbsSe.VfPpkd-LgbsSe-OWXEXe-k8QpJ
Note: Make sure you have installed the mentioned library at the time of robot framework Installation.
Run your code by writing the following command:
> robot SuiteName/Gmail.robot
Note: SuiteName is the name where you have kept your Gmail. robot file


