
Performance Testing Using Locust
In Today’s world, Performance testing plays a vital role in assessing an application’s ability to handle the performance of a particular load.
There are many tools available in the market. Likewise, we have Locust as a Powerful tool that can be used in scalability testing, endurance testing, etc.
What is a Locust?
Locust is a very powerful and open-source load-testing tool that allows simulations of millions of concurrent users. Locust is a framework that is written in Python.
Overall, the performance testing using locust allows the application to perform under different loads and identify bottlenecks.
Locust allows QA and the developers to write their test scenarios in Python code. It can easily be integrated with CI/CD pipelines.
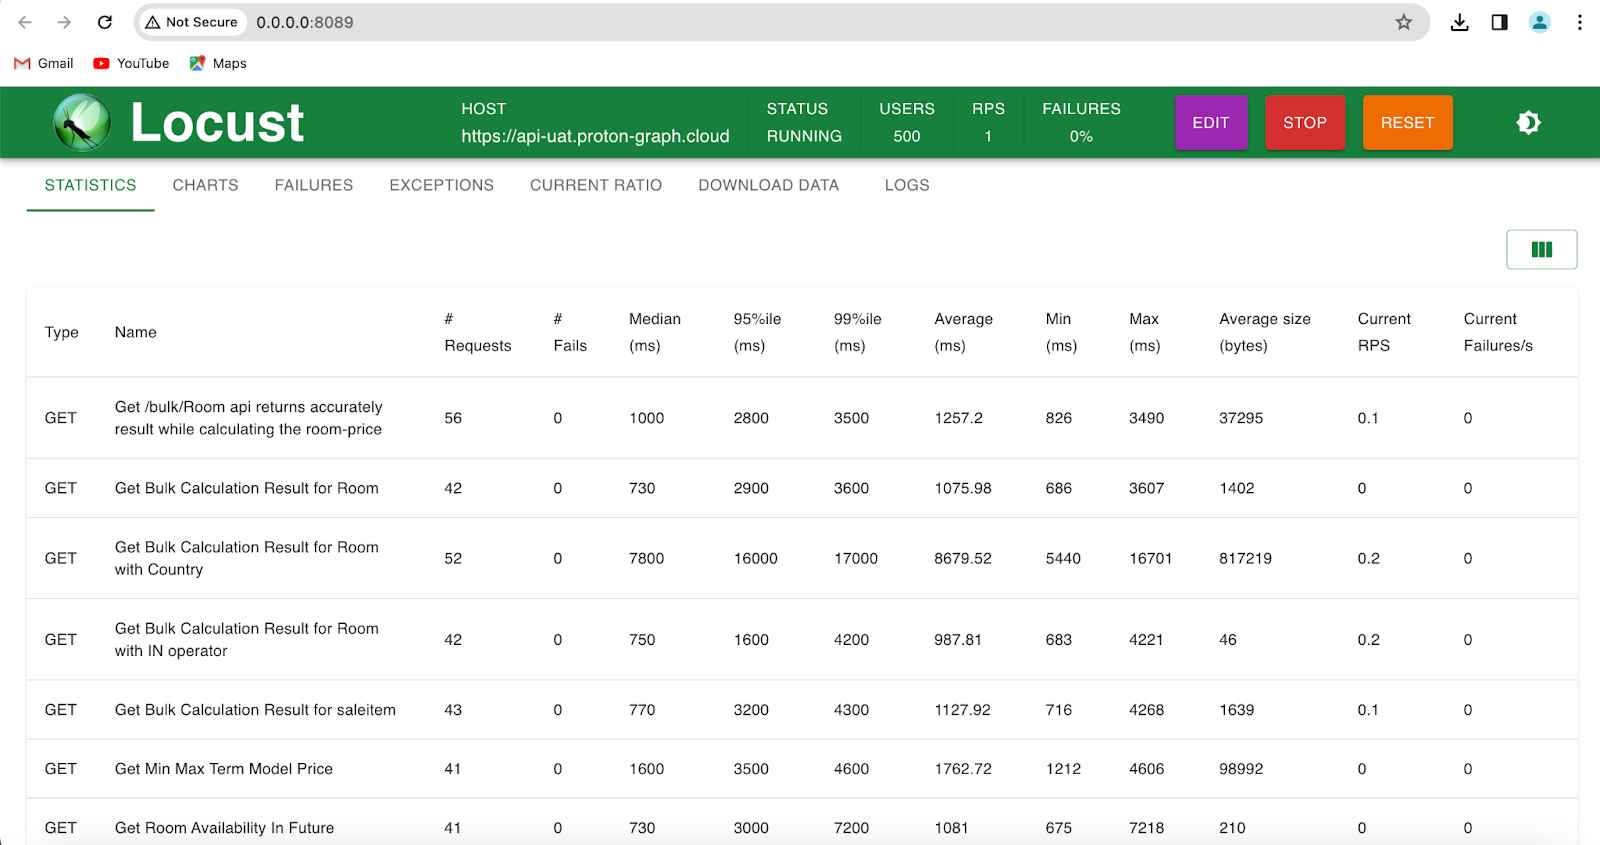
Locust is used to provide real-time demography with the help of a web interface, making it easy to monitor the application’s performance under test.
Key Features and Benefits of Locust Framework
Locust framework has several unique features and advantages that keep it stand out from the other competitive framework.
1) Simple Scripting
With the help of Locust, test scripts can be written in Python which allows you to take advantage of Python-rich libraries and built-in functions. The scripting syntax is straightforward to use by developers and QA.
2) Scalability
Locust is highly capable of handling many even millions of virtual users to simulate the user’s handle.
3) Real-Time Reporting
Locust provides real-time reporting and monitoring through its web interface, allowing you to track key performance metrics such as response times, request rates, and error rates as the test progresses. This real-time feedback enables quick identification of performance bottlenecks and issues.
4) Test Execution Model
Locust uses an event-driven model based on the concept of “swarming”. Users can define the desired user’s behavior in terms of tasks and locust automatically swarms work processes to simulate the desired behavior.
5) Open-Source and Free
Locust is an open-source and free trial version that is written in Python.
Getting Started Performance Testing with Locust
To start performance testing, we have to follow several steps that are mentioned below.
1) Installation
Locust can be installed on your local machine by executing the following command pip install locust
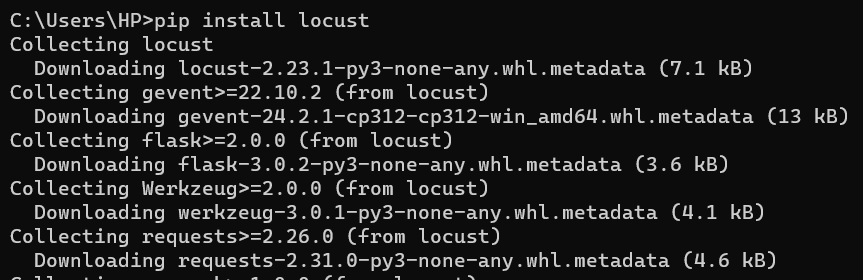
Once Locust is installed on your machine then you can check the Locust version

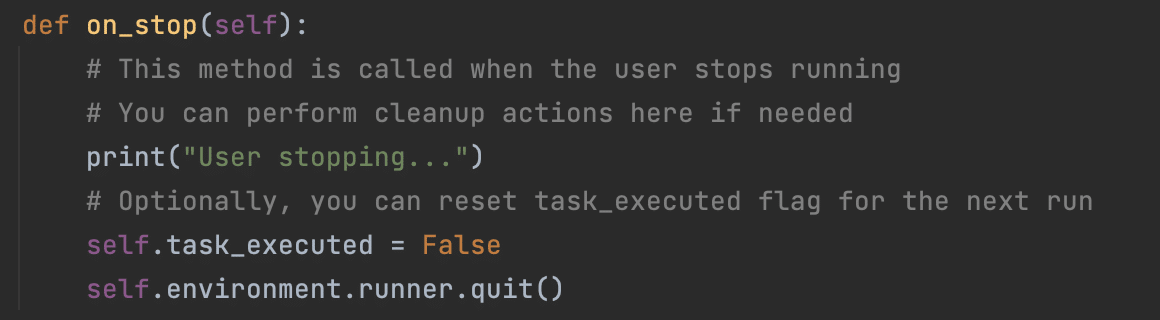
2) Build Python Script
Define user behavior by creating Python classes that inherit from Locust’s User class. Within these classes, define tasks that simulate user interactions with your application, such as making HTTP requests or processing data.
Create an on-start method to start the environment and a one-stop method to quiet the environment.
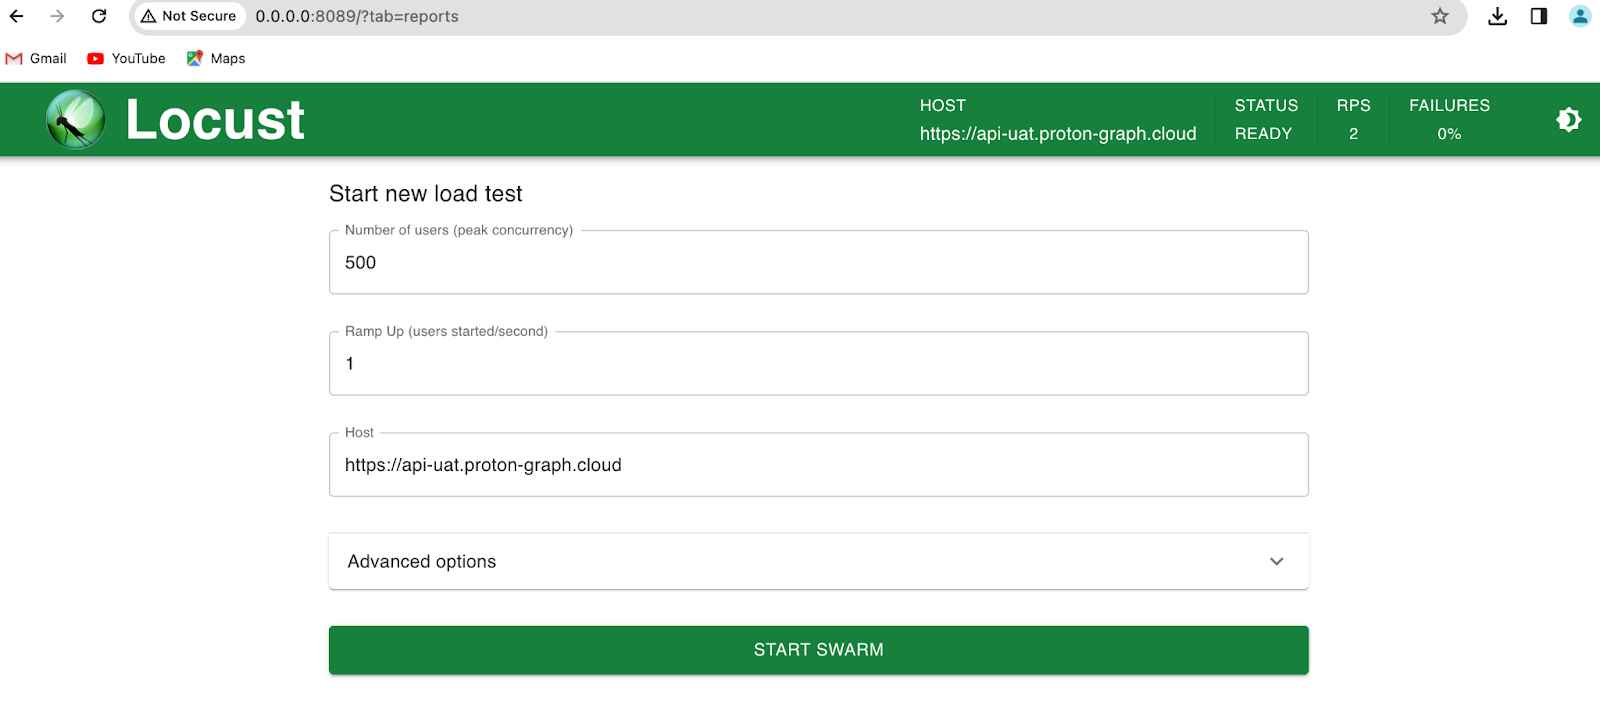
3) Configuring Load
We can configure the number of virtual users, ramp-up time, and the host
| Number of users (peak concurrency) | x |
| Ramp Up (users started/second) | x |
| Host | https://<host_name> |
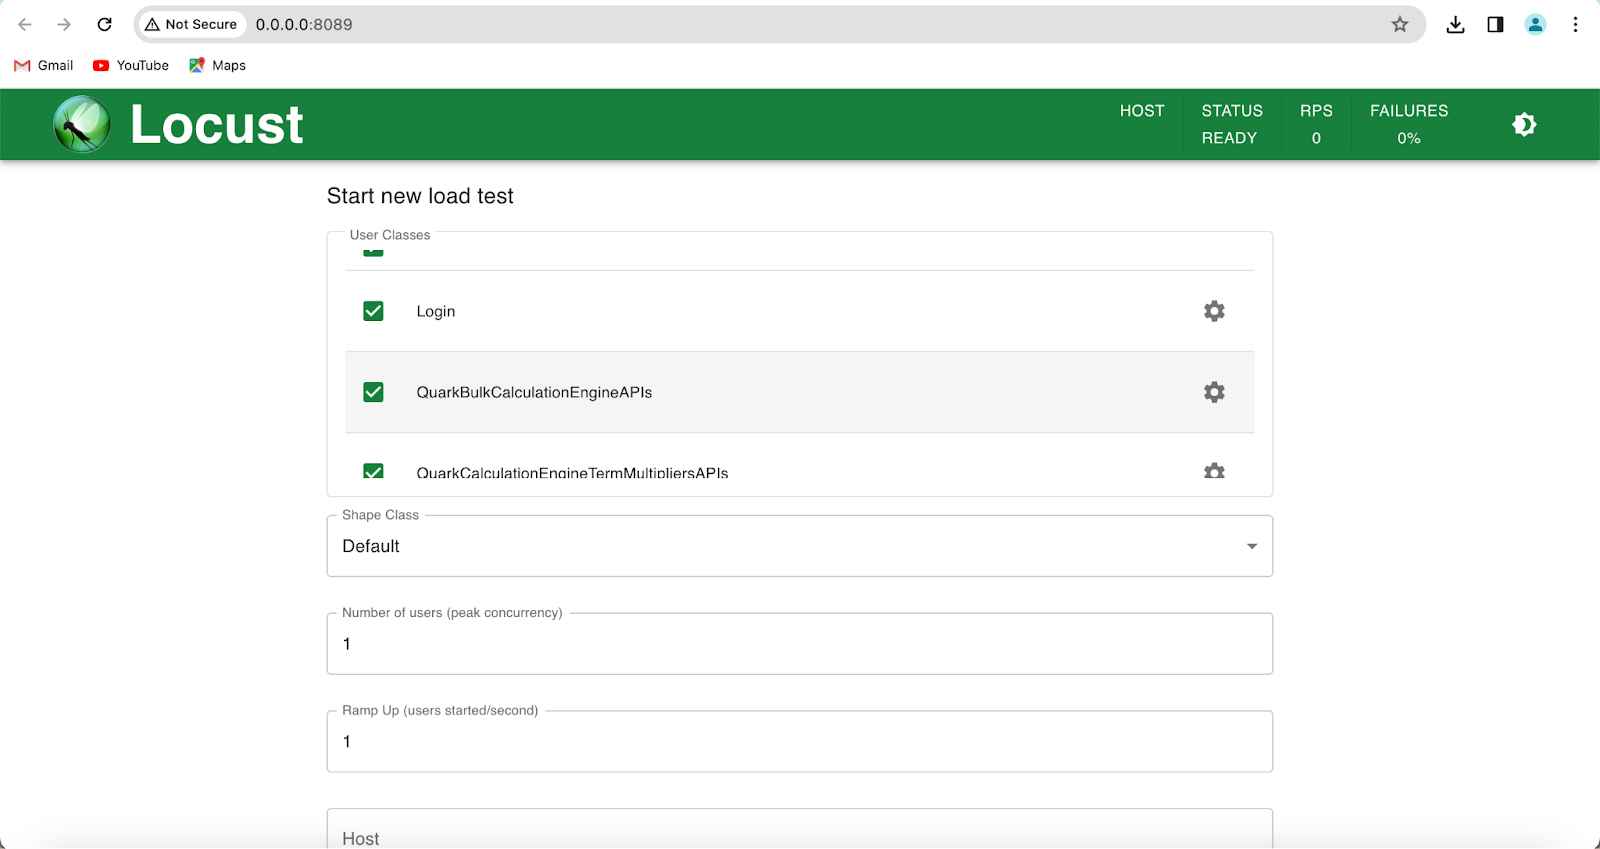
4) Running Tests
Locust script can be run through CLI (Command Line Interface) or we-interface. Locust will swarm the number of virtual users and start executing their task against the targeted application.

To run all the locust scripts at a time through the command line interface then we can use –class-picker

5) Monitoring and Analysis
Real-time performance metrics can also be monitored through Locust’s web Interface. After the execution of tests, analysis of the performance metrics and identify the potential risks and bottlenecks
“Looking to optimize your application’s performance? Let us help you achieve peak performance with our comprehensive performance testing services.”
Related Post:-


