
Tutorial On Pcloudy
Pcloudy is a test environment application and you can perform manual testing and automation testing with more than 5000 device-browser combinations it is powered by Artificial intelligence and Predictive Analytics.
pCloudy provides public, private, and on-primes device cloud solutions where enterprises can use the Pclody according to their own needs. In Pcloudy we can test the application with all digital channels like mobile, mobile web, and IOT if possible. It has also been recognized by top industry analysts including Gartner and Forrester.
How to Use the Pcloudy?
In the below points we describe the use of Pcloudy so follow the below steps:-
Step 1:- Signup In Pcloudy
Before testing any application on Pcloudy We need to signup for the Pcloudy
Steps to sign up in Pcloudy:
- Open the link https://device.pcloudy.com/signup
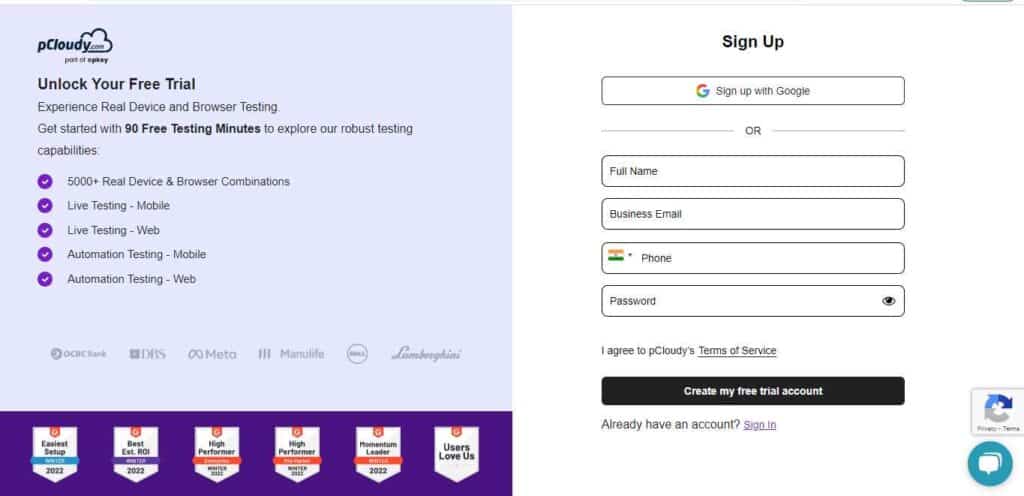
- Signup in the Pcloudy
- A verification link will be sent to the registered email id
- Verify the link
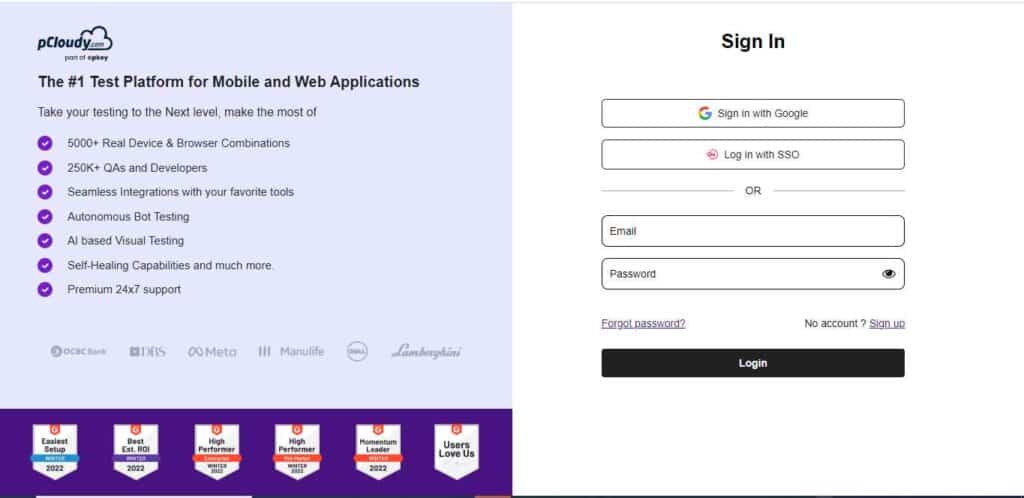
Step 2:- Login Into Pcloudy
After successfully signing up for the application you need to login into the application.
Step 3:- Free Trial and Evaluation
If you want to take a free trial then you can take the free trial after clicking on the free trial and evaluation.
To take the free trial we need to follow some steps
- After login into the application successfully user will be redirected to a trial page where you can see some free mobile devices, browsers, and automation run

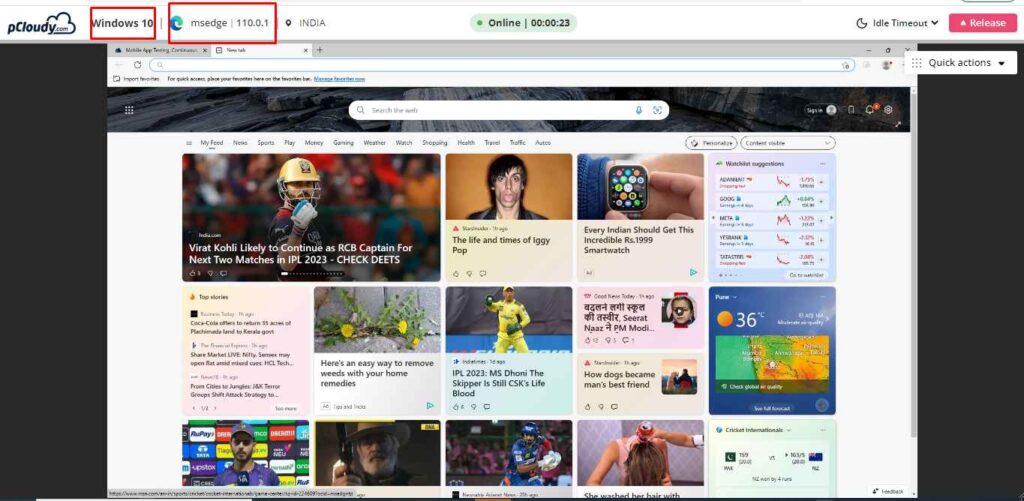
- You can select any of the devices and connect with them to start your testing
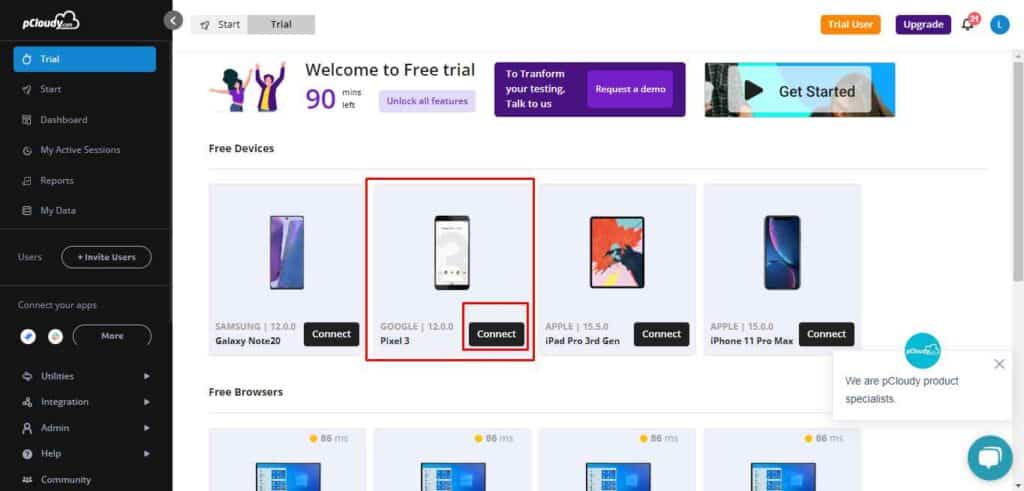
- After connecting to the device you can perform many of the functions to test their application.
Note: If you want to test the mobile application you need to upload the .APK file and for Ios Application you need to upload IPA files.
Good to Read:- Tutorial On Playwright Web Automation Testing Tool
A) You can perform a list of actions
- Access to devices (Limited)
- Connecting to devices
- Uploading the app from the local system
- Taking Screenshots
- Bug logging
- Access to device logs
- Access to Performance metrics
- Access to Settings (Blocked)
- Google Play Store (Blocked)
- Create a Google account (Blocked)
- SIM card features (Blocked)
Note: Listed action you can’t perform while you use the free trial
B) List of Features Available
- Manual testing
- Automation (Not available)
- Device Planner (Not available)
- Bot testing
Note: Not available for a free trial user
How Can We Create Your First App Test on Pcloudy?
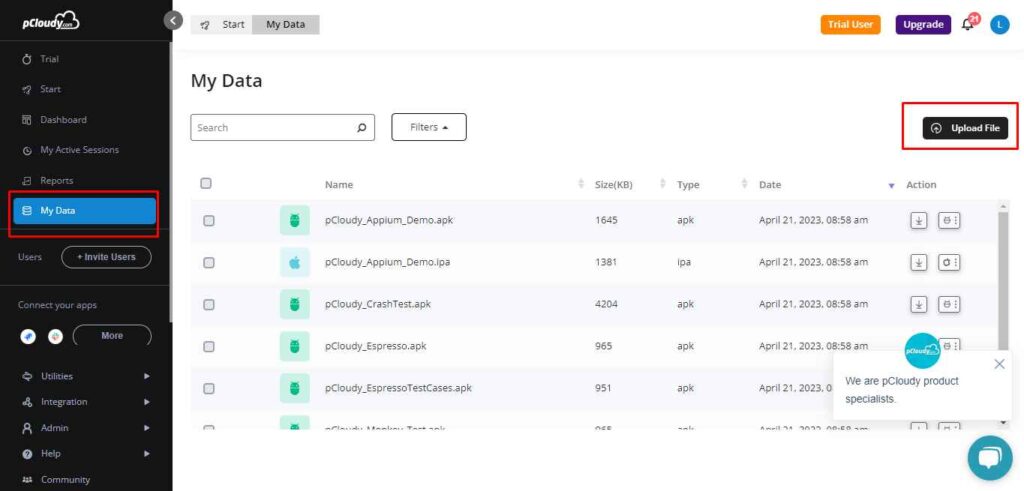
Step 1: Upload Your Test Application
In the cloud drive, You can upload your test application
On the left Click on the “MY APP/DATA” tab
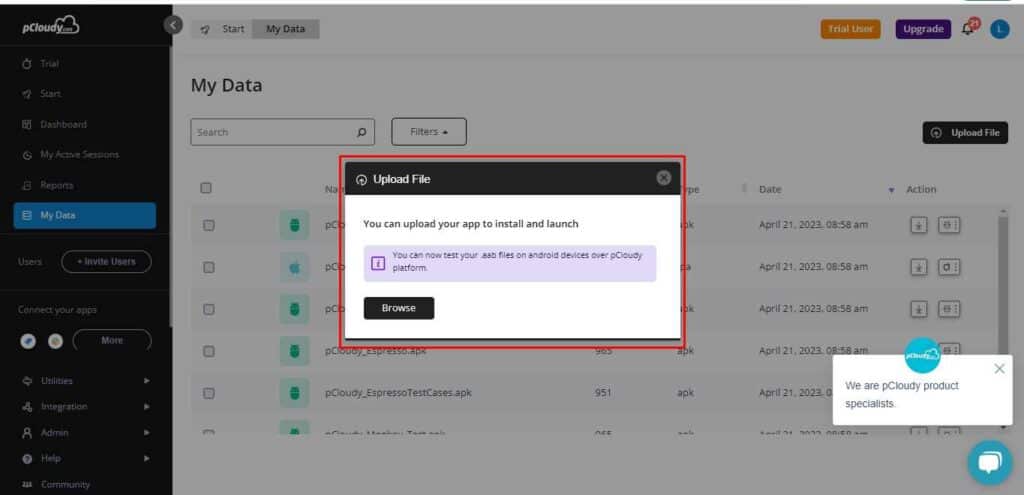
After clicking on the upload file button then a popup will show to browse the app and then you can upload your file from your local system.

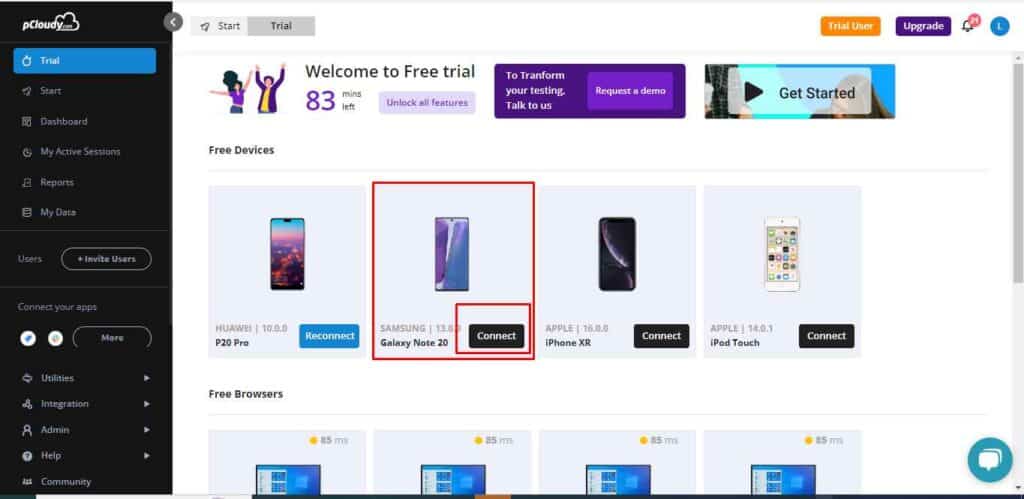
Step 2: Select the Device As Per Requirements
Select the device to test as per your requirements
Try to click on the left side and try to connect available devices on the cloud.
Step 3: Application Installation
Now we need to install the application into your device
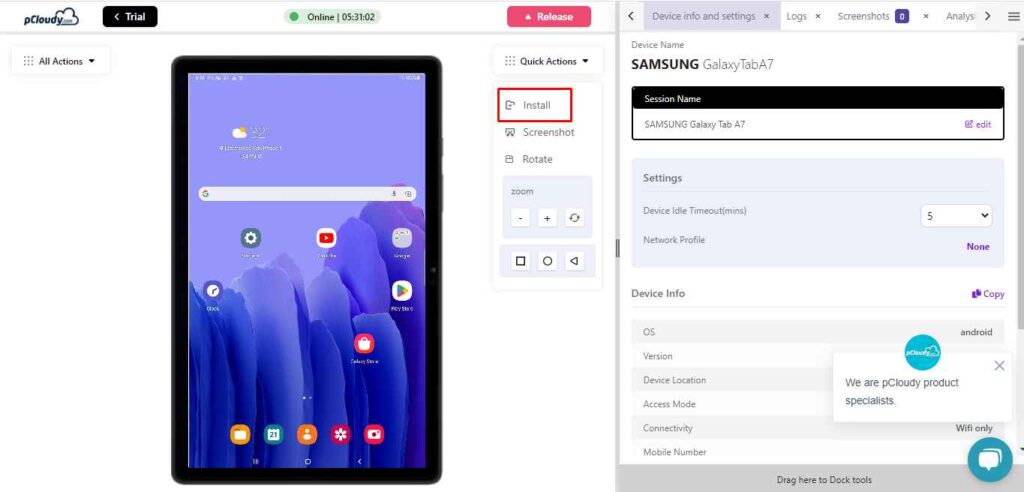
After clicking on the install option A popup will be displayed and select the file that you want to test from the cloud location.
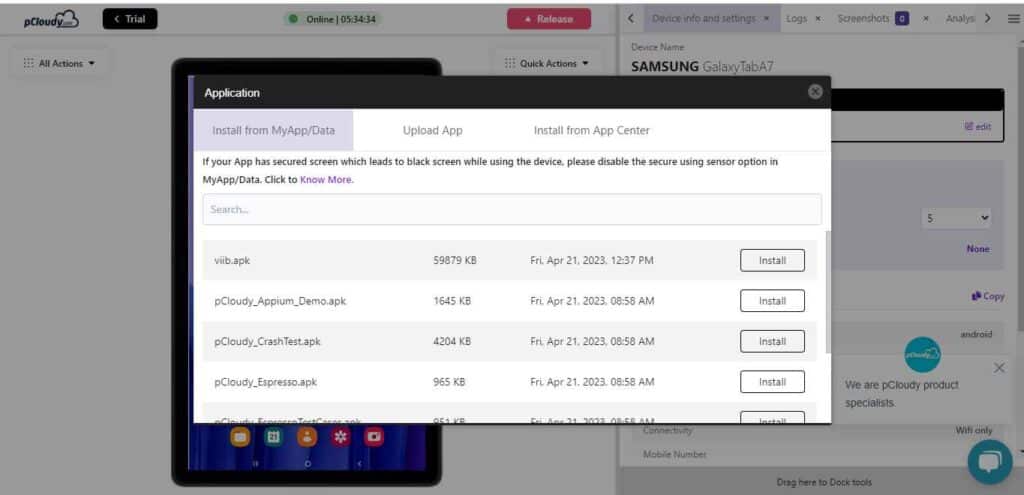
Note: The user will be notified once the app is installed. Now the application is ready to test on the device once installed.
Step 4: Monitor The Device Logs
You need to monitor the device logs. In the docking station on the right, click on the logs section and enable the logs to click on the radio button.
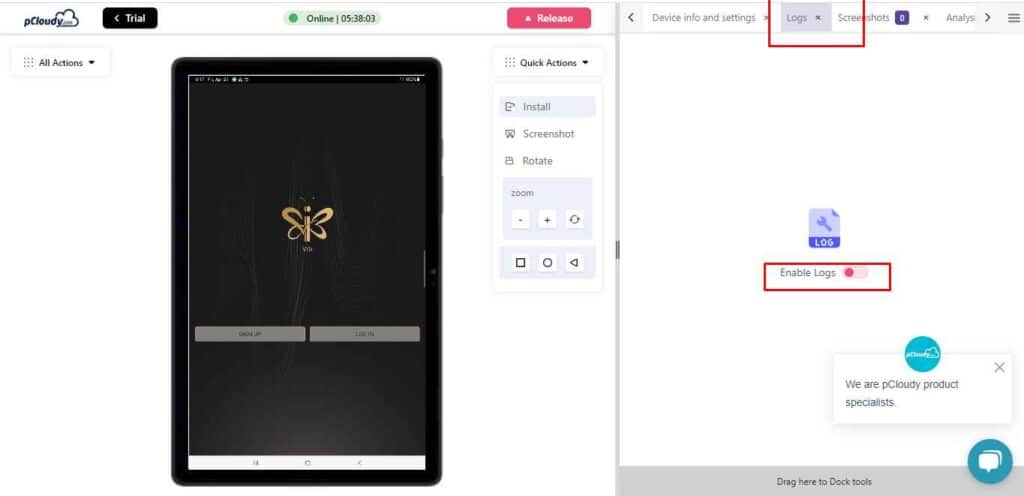
After enabling the log radio button the user is able to see all the logs next to the device.
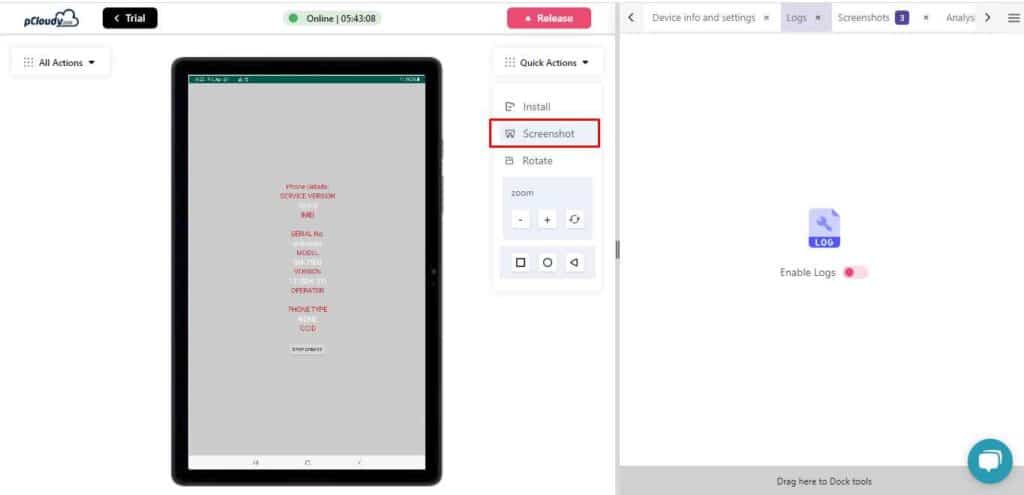
Step 5: Take Screenshots of Bugs
If You find any bugs in your application while testing then you can take the screenshots also.
Related Post:-


