GIT – Distributed Version Control System
Git
It is a distributed version control system developed by Linus Torvalds in 2005. When we work in an environment where multiple developers have to access and update the same code base then issues will arise if they try to update the codebase at the same time, for example one can override code of another developer. GIT address this problem nicely.
SetUp
You can install the GIT for the operating system of your choice by following the instructions mentioned in the link https://git-scm.com/book/en/v2/Getting-Started-Installing-Git
Once installation is done we need to choose the server system which hosts Git and there we will create our code repository, for example GitHub, BitBucket, GitLab etc are applications which supports Git. In this blog we will be choosing GitHub as our server application where our code repository will stay.
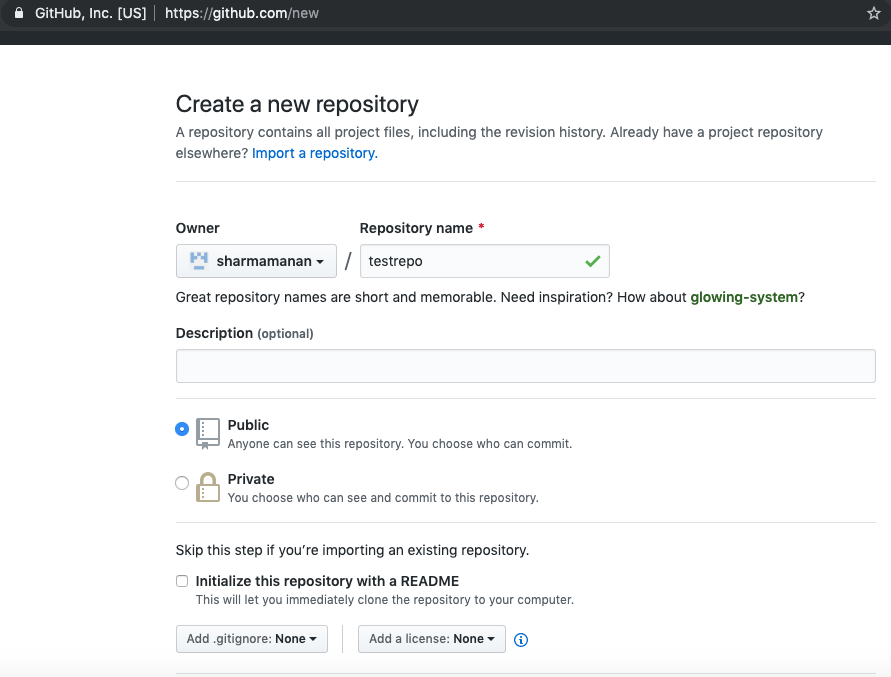
Create an account on GitHub if you don’t have one already, then create your code repository. Repository creation screen will be similar to the one shown in below screenshot.

On your local machine configure Git by executing below commands, you can use client like gitbash or your terminal based on your OS.
git config –global user.name “Your name“
git config –global user.email “your email”
Clone Remote Repository
Above we have created one repository on GitHub, we will now clone it which will create a copy of a remote repository on our local system. Go to the directory where you would like to clone the repository through your git client (gitbash or terminal) and execute below command to clone the repository
git clone <your repository url>
Create Branch
We should always be creating our work specific branch and do our work in that branch, through your git client go inside the cloned repository and execute below command
git checkout -b <branch-name>
Stage Your Changes
You need to stage your files which you would like to commit and push to the remote repository, you can use below command for staging
git add. <file-name> – To stage individual file
git add . – To stage all changed files
Commit Your Work
After staging the files you can commit your staged files with the help of below command
git commit -m <commit message>
Note – ‘-m’ is a message flag and whatever message you will provide with the commit will going to show on your commit history. Each commit requires a message.
Push Changes to Remote Repository
You can push your changes to the remote repository by using below command and all your commit files will be updated on server
git push origin <branch-name>
Note – Anytime you can run command git status inside your local git repository to check status.


