How to Generate Test Cases Using TestRigor? – DS
Introduction:
Testrigor is a Generative AI tool, that helps to generate test cases without using any code. It supports the following type of testing on the following platforms:
- Desktop Web Testing supports [Ubuntu, Windows (Paid only) and OSX (Paid only)].
- Mobile web Testing supports [Android, iOS (Paid Only)].
- Native and Hybrid Mobile supports [Android, iOS (Paid Only)].
Testrigor provides free and Paid plans. The paid version provides the following options.
- Cloud(default) or on-premise.
- Windows, MacOS, Ubuntu, iOS, Android, etc.
- Number of parallelization for faster test execution speed.
Step1: Setting up an account
To create a free account, follow these steps
- Navigate to https://testrigor.com/sign-up
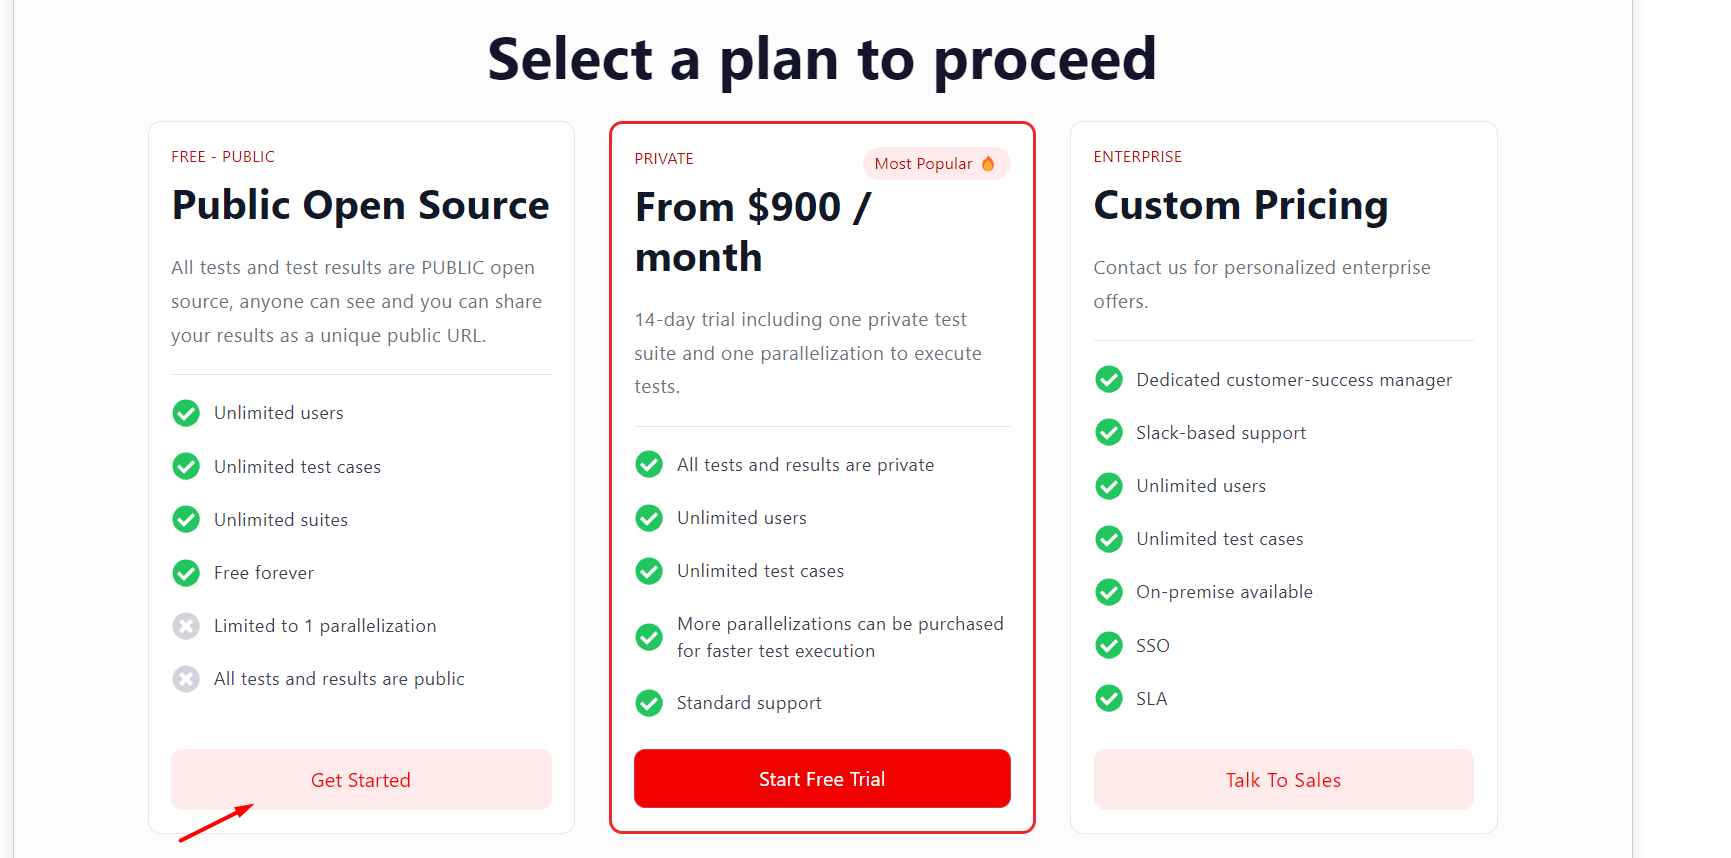
- Select a free – Public open-source plan
- Click on Get Started button
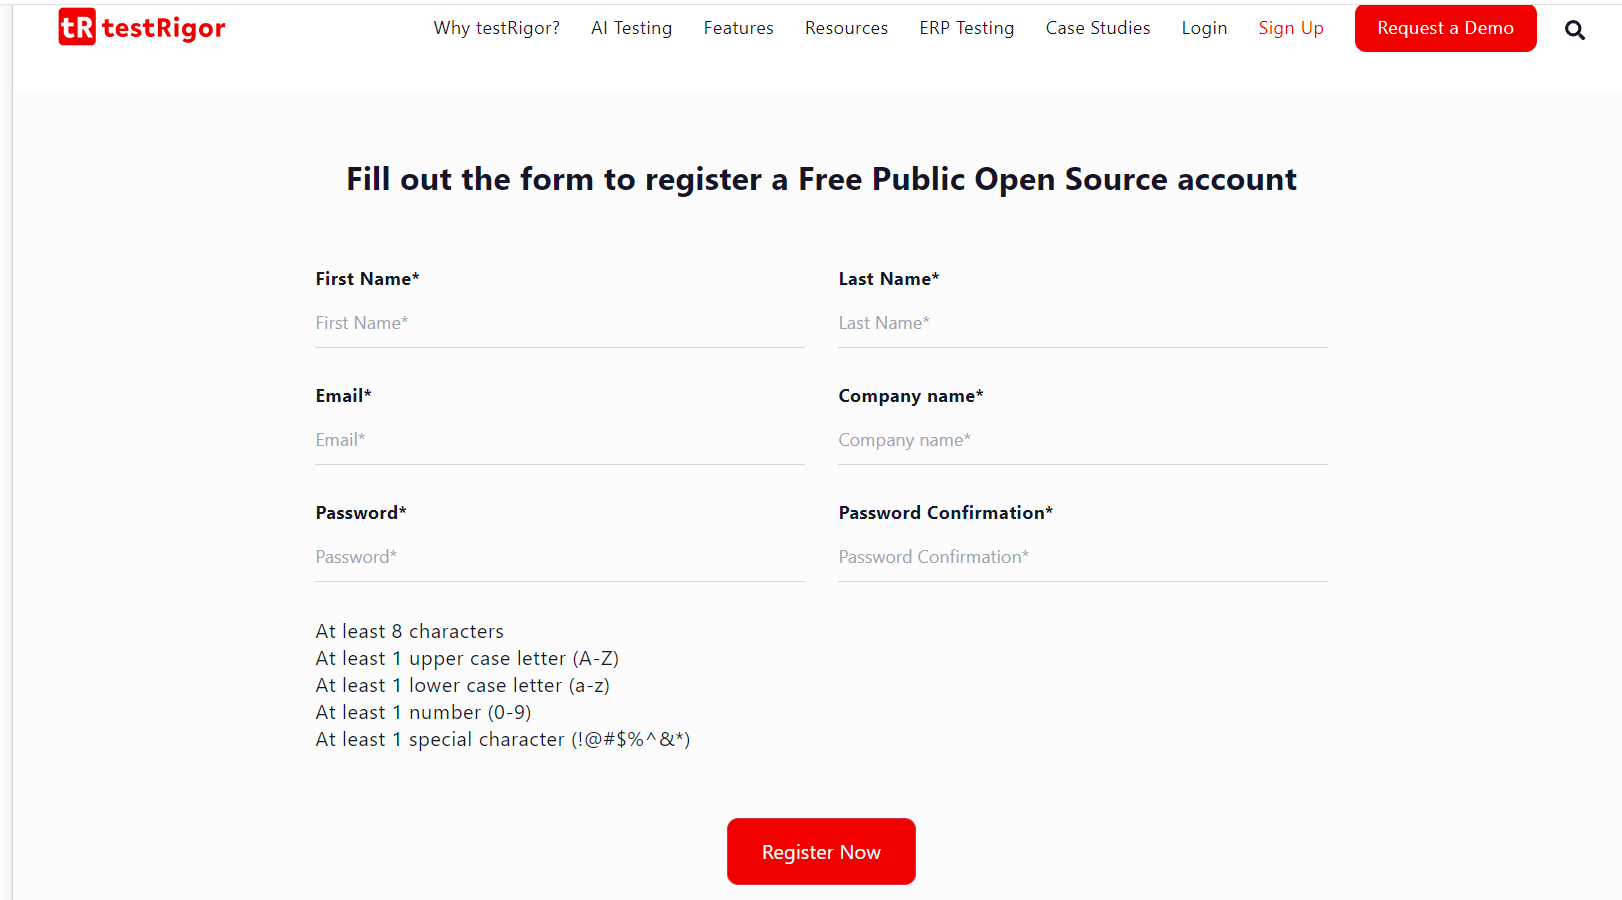
- Navigate to register form page
- Filled all mandatory fields and click on the Register Now button
- Login Testrigor app with valid credentials.
 Once you logged in successfully then you need to create a Test Suites.
Step2: Setting up test Suites
Setting up test suites for website testing by providing the following details.
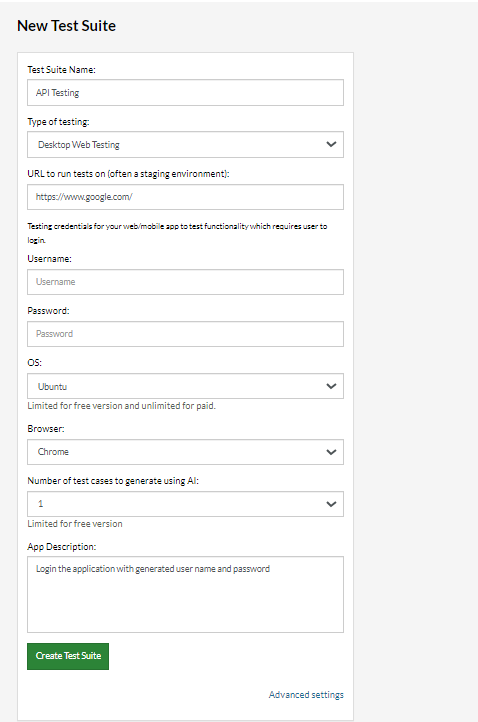
- Test Suite Name: Provides testing-relevant names.
- Type of Testing: You can select any options based on your test’s requirement from the following options. (Desktop Web Testing, Mobile Web Testing, Native, Hybrid Mobile).
- URL to tests run on: You have to enter the particular URL on which you want to perform testing.
- Testing credentials for your web/mobile app to test functionality which requires users to log in: You have to enter the username and password of your testing application credentials; it is an optional field.
- OS and Browser: Choose the OS and Browser, on which you want to run your tests, for the free version Ubuntu OS only supports.
- Number of test cases to generate using AI: you can select test cases based on your test scenario, free plan can generate 0, 1, or 3 test cases for one test scenario.
- Test Description: you can add descriptions according to your test cases.
Step3: Click on Create Test Suite
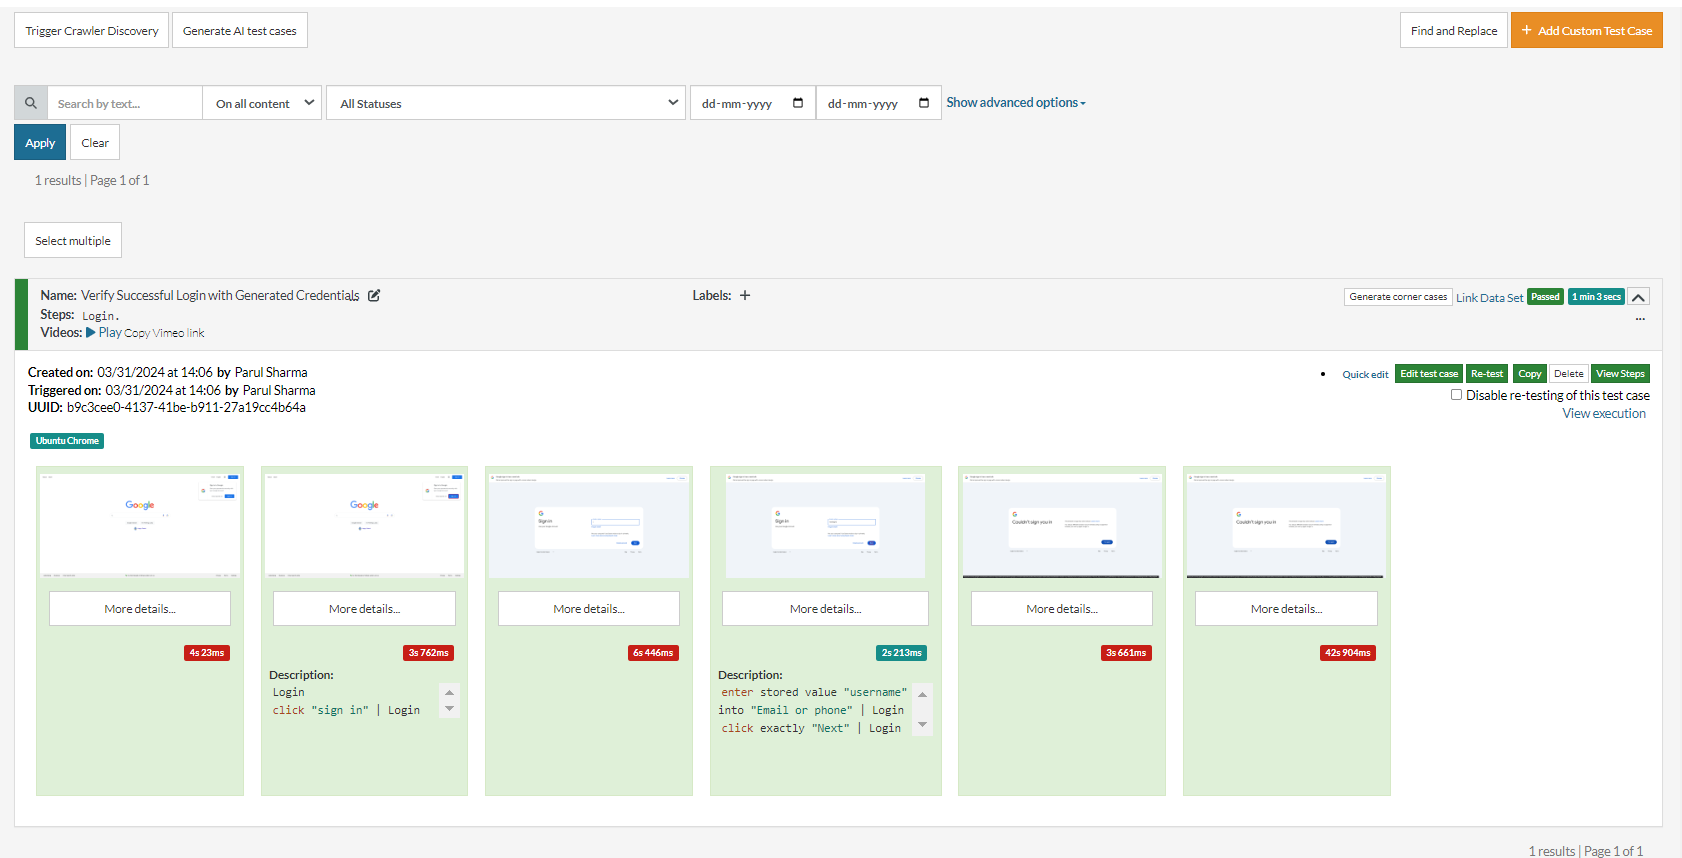
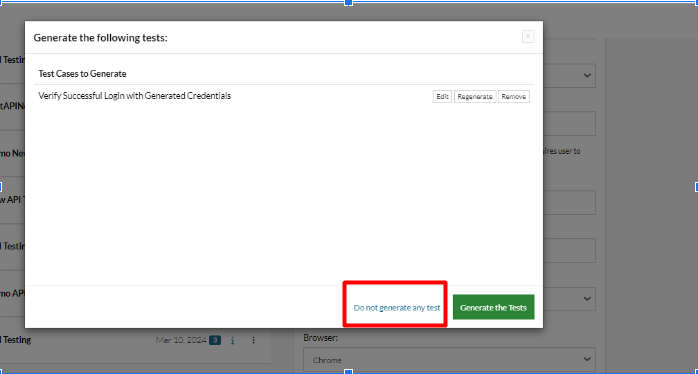
You can see the generated test case on the screen, and you can edit the test case, regenerate, and remove the test case.
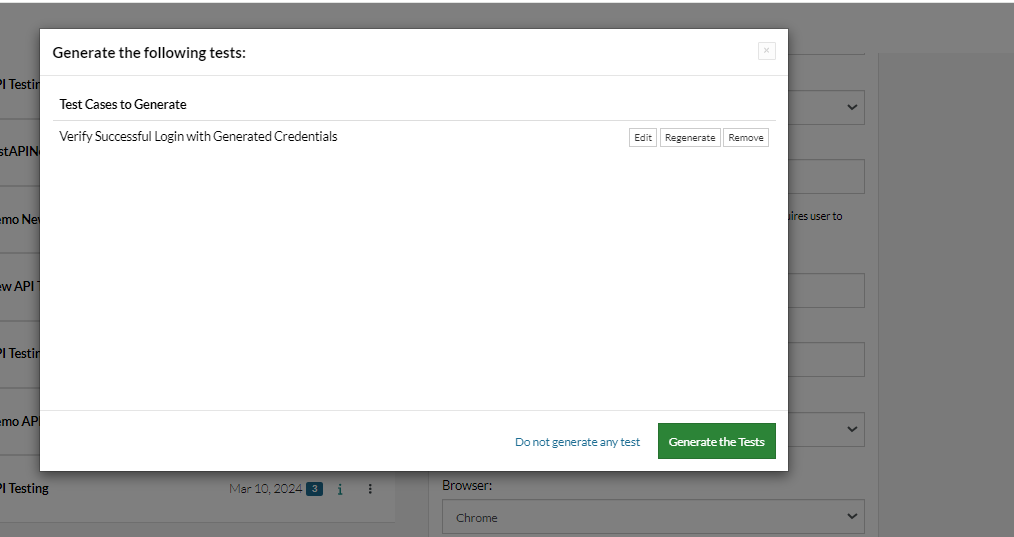
Once you click on the Generate tests button, then you can see the generated test case steps execution:
Or You can customize the test case accordingly.
Click on the ‘Do not generate any test’ button.
Step 1: Click on ‘’Add Custom Testcase”

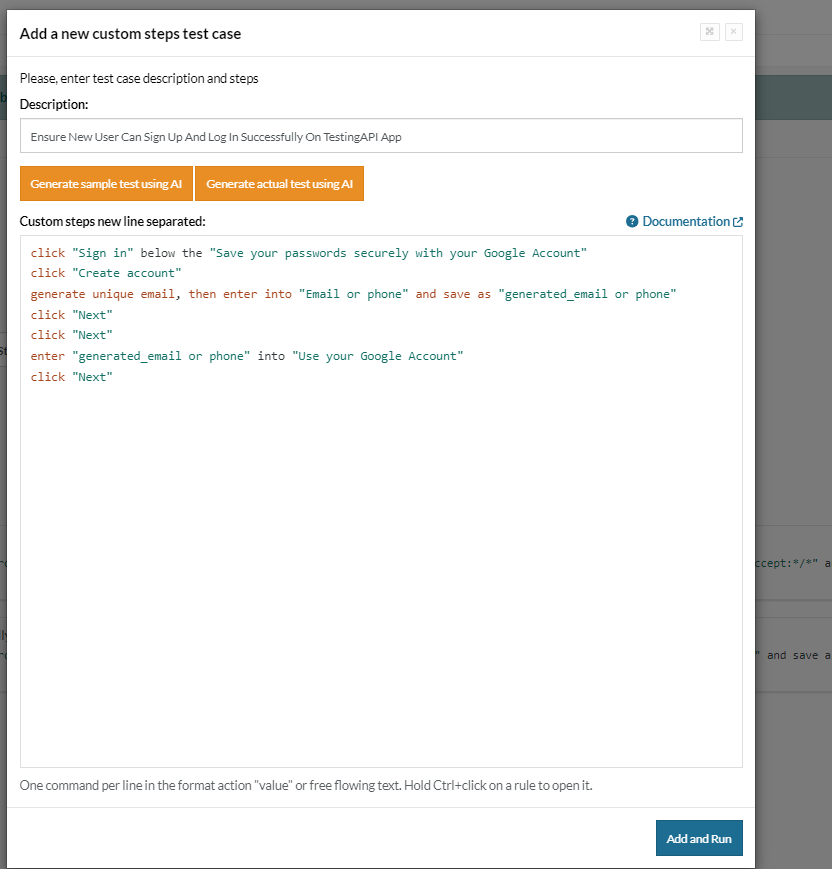
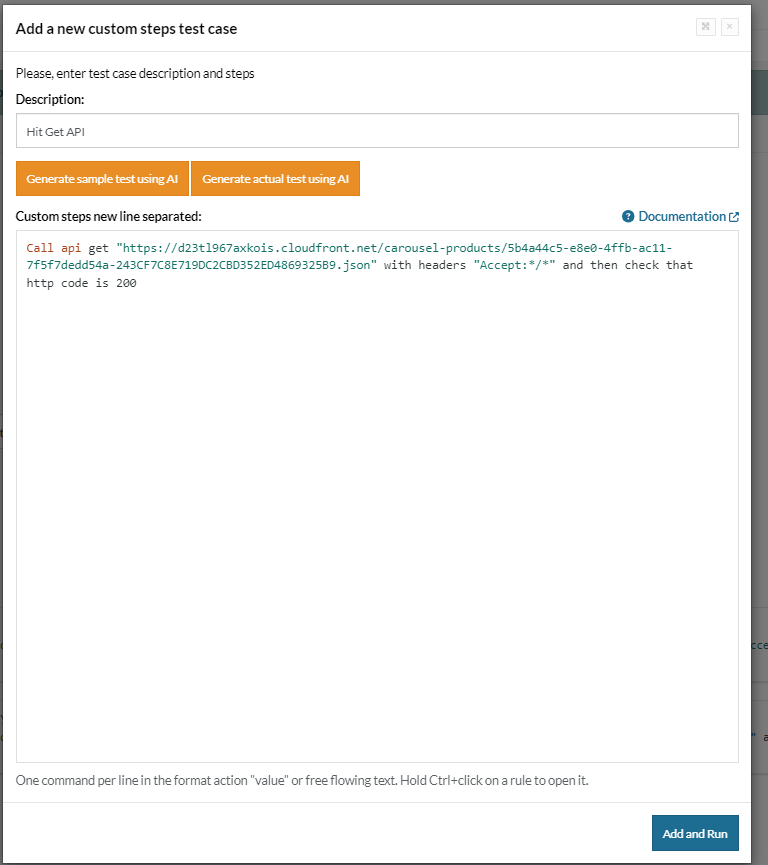
Step 2: Navigate to the “Add a new custom sample test case” page
Description: Add a Description to run the test case.
Custom Steps new line separated: Add valid steps to run the test case:
Step 3: Click on Add and Run
Viewing Test Result:
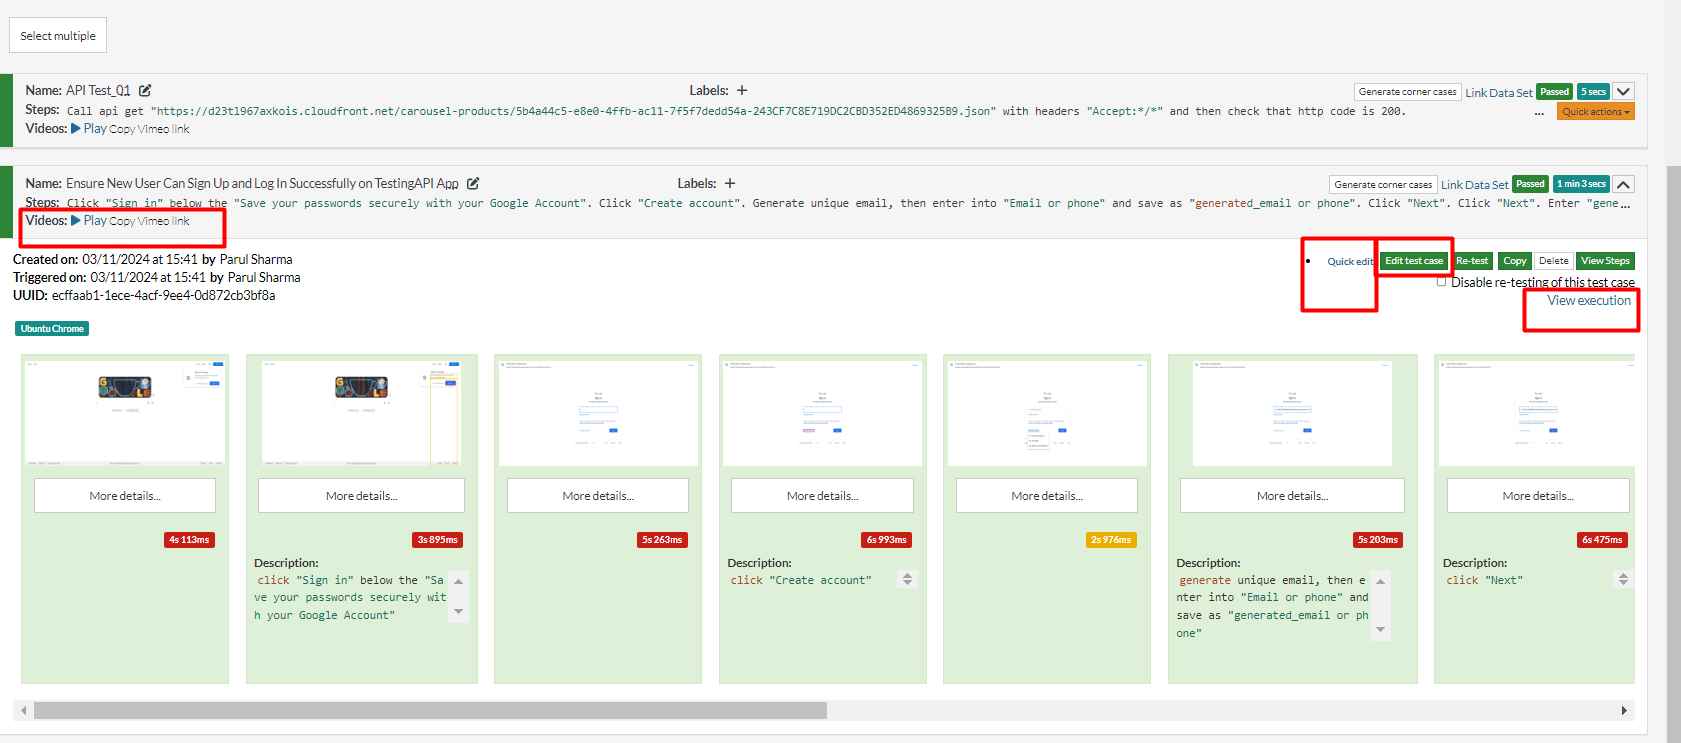
Once the Test execution is completed then you can see the execution details, like execution status, time spent, video recording of the test execution, error message, logs, and screenshots of passed and failed test cases. You can edit the test case steps and rerun the test case.
Viewing Test Report:
You can see overall passed and failed test case results.
- Click on Reports

Conclusion:
Test Rigor can help streamline your testing process, improve product quality, and accelerate time to market. It ensures that software products are not only functional but also dependable, secure, and capable of delivering value to users. It builds trust with customers by consistently delivering reliable products that meet or exceed their expectations.
Related Post:-


