
Definition of Automation
Automation define as it is a method of testing software products with special testing tools and frameworks to minimize human intervention and maximize product quality.
Automation Testing is done with the help of automation Software, and it controls the flow of the execution of tests as per the written scripts. They are then compared with the predicted outcomes to ensure the quality and reliability of the application.
Appium
An Appium is an open-source automation tool, it use to automate native and hybrid mobile applications for both ios and android. Withappium, cross–Appium platform testing is simple and the same test script can use for multiples platform.
What Is an Automation Framework?
Framework support automation testing as a technical implementation guideline. The automation framework not only offers the benefit of re-using the code in various scenarios. But it helps the team to write the test script in a standard format. Some are the following advantages
- Framework help in maintaining a well–defined strategy across the test suites
- Framework enhanced speed at which testing progresses.
- Framework help in easily maintaining the whole code
- We can easily test the application many times as required.
The test automation framework very helps full because we added the test script as we want and run it many times so it saves a lot of time which is a waste of checking manually.
Here We Discuss a Hybrid Framework
A hybrid testing framework is simply defined as a testing framework that has well-defined and well-organized steps to automate the application and it is a mix of both the data Driven and Keyword Driven frameworks.
What is Data-Driven?
- It define as it is a method in which test data store in table or spreadsheet format. It allows a tester to create a test script where test data or output are read from data files instead of using the same hard–coded value each time the test runs. By doing this the applications handle various inputs effectively. There are multiple ways.
- Data pools
- Excel files
- ADO objects etc

Resources Required to Create a Hybrid Framework
After that check the java version in cmd by running this command
- java – v
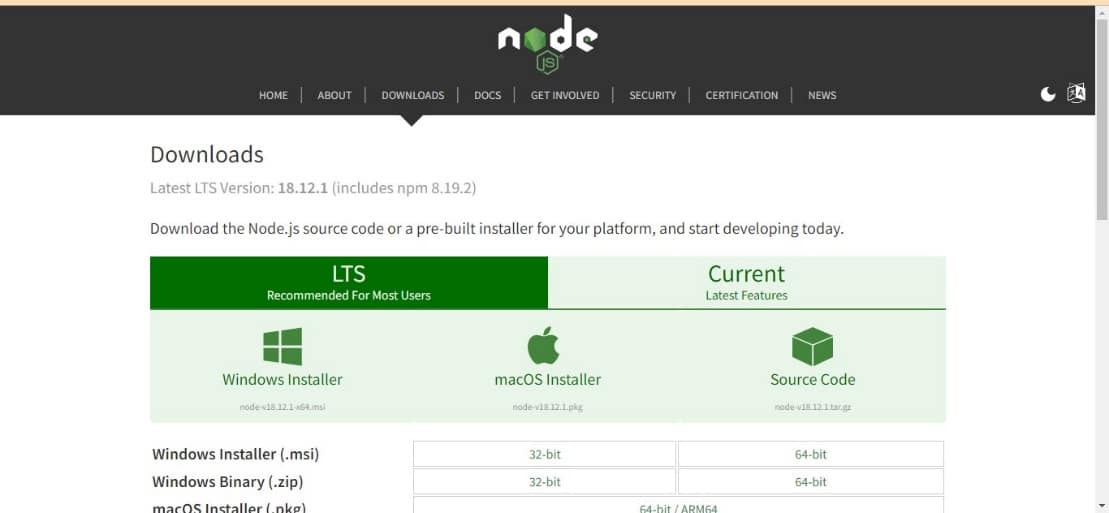
- Node js &npm: Download the NodeJs and install them.
- After that check the version in cmd by running this command:
- node –version
- npm -v
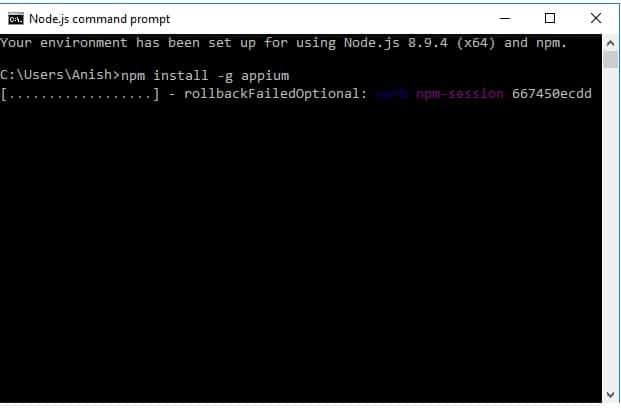
Appium
Install Appium with Nodejs and after the installation checks the version.
- npm install –g appium
- appium –version
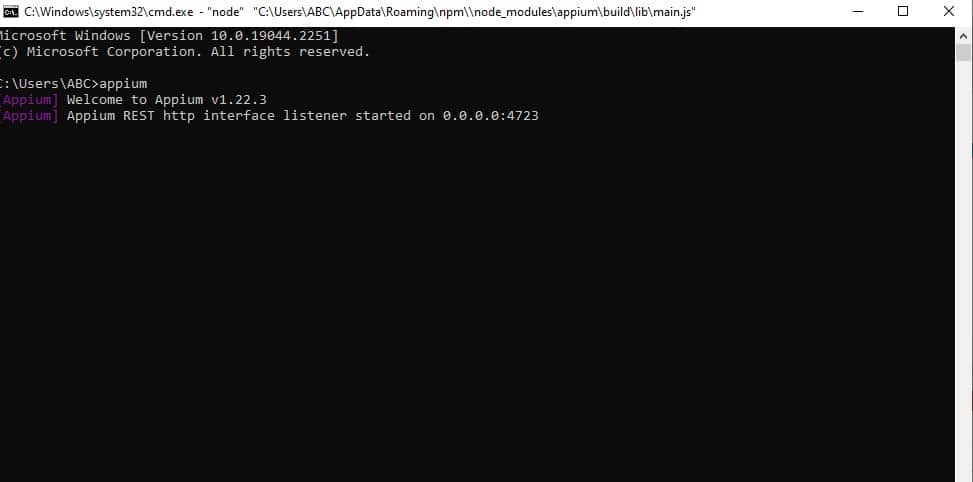
Check Appium and start the Appium server by entering the command in cmd:
-
- Appium
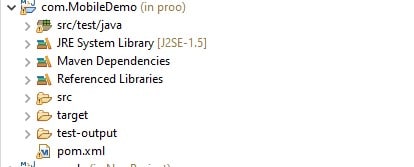
Create a Maven Project Using Java
Click on Eclipse -> click on File -> click on Project -> click on Maven Project->Type Project Name
Code for Driver Page
Here we write code for the set desired Capabilities for set the all required data like UDID, PLATFORM NAME, etc. for the ANDROID AND IOS devices both.
package init;
import java.io.IOException;
import java.net.URL;
import java.util.concurrent.TimeUnit;
import org.openqa.selenium.remote.DesiredCapabilities;
import io.appium.java_client.AppiumDriver;
import io.appium.java_client.MobileElement;
import io.appium.java_client.android.AndroidDriver;
import io.appium.java_client.ios.IOSDriver;
import io.appium.java_client.service.local.AppiumDriverLocalService;
import io.appium.java_client.service.local.AppiumServiceBuilder;

publicclass DriverFactory {
    publicfinalstaticintTIMEOUT_SECONDS = 8000;
    public DesiredCapabilities capability;
    publicstatic AppiumDriverLocalService service;
    publicstatic AppiumServiceBuilder builder;
    privatestatic ThreadLocal<AppiumDriver<MobileElement>>mobileDriver = newThreadLocal<AppiumDriver<MobileElement>>();

    privatestatic Logger log = Logger.getLogger(DriverFactory.class);
    static Map<String, AppiumDriver<MobileElement>>map = new HashMap<String, AppiumDriver<MobileElement>>();

public DriverFactory() throws IOException {

    switch (Config.PLATFORM_NAME.toLowerCase()) {

    case"android":
        capability = new DesiredCapabilities();
        capability.setCapability("platformName",Config.PLATFORM_NAME);
        capability.setCapability("platformVersion",Config.PLATFORM_VERSION);
        capability.setCapability("deviceName", Config.DEVICE_NAME);
        capability.setCapability("udid", Config.DEVICE_UDID.trim());
        capability.setCapability("app", Config.APP);
        capability.setCapability("autoGrantPermissions", true);
        capability.setCapability("gpsEnabled", true);
        capability.setCapability("noReset", true);
capability.setCapability("newCommandTimeout", TIMEOUT_SECONDS);
mobileDriver.set(new AndroidDriver<MobileElement>(
new URL("http://127.0.0.1:"+ Config.PORT_NUMBER + "/wd/hub"), capability));

getDriver().manage().timeouts().implicitlyWait(10, TimeUnit.SECONDS);
log.info("Driver initialized for Appium on Android...");
break;

case"ios":
    capability = new DesiredCapabilities();
    capability.setCapability("platformName",Config.PLATFORM_NAME);
    capability.setCapability("platformVersion",Config.PLATFORM_VERSION);
    capability.setCapability("deviceName", Config.DEVICE_NAME);
    capability.setCapability("udid", Config.DEVICE_UDID.trim());
    capability.setCapability("app", Config.APP);
    capability.setCapability("newCommandTimeout", TIMEOUT_SECONDS);
mobileDriver.set(new IOSDriver<MobileElement>(new URL("http://127.0.0.1:" + Config.PORT_NUMBER + "/wd/hub"),capability));
    getDriver().manage().timeouts().implicitlyWait(10, TimeUnit.SECONDS);
    log.info("Driver initialized for Appium on IOS...");

default:
        thrownew RuntimeException("Please provide correct platform...");
        }

    }


publicstaticsynchronizedvoid setDriver(AppiumDriver<MobileElement>remote) {
        mobileDriver.set(remote);
    }

    publicstaticsynchronized AppiumDriver<MobileElement> getDriver() {
        returnmobileDriver.get();

    }

    publicstaticvoid unloadDriver() {
        getDriver().quit();
        mobileDriver.remove();
    }

}
Pom File
- POM means Project Object Model. It is a fundamental unit of work in maven; it is an XML file that contains information about the project and configuration details used by maven to build the project. We need to set all the required dependencies, so here all the important dependencies add in the pom.xmlfiles example below.
- To get the dependencies we refer to this site: Maven Repository
- Add dependencies for Java client
- Add dependencies for selenium
- Add dependencies for Appium.
- Add dependencies for TestNG
All the important dependencies are given below for the projects
<projectxmlns="http://maven.apache.org/POM/4.0.0"
xmlns:xsi="http://www.w3.org/2001/XMLSchema-instance"
xsi:schemaLocation="http://maven.apache.org/POM/4.0.0 https://maven.apache.org/xsd/maven-4.0.0.xsd">
    <modelVersion>4.0.0</modelVersion>
    <groupId>appiumproject</groupId>
    <artifactId>AppiumTestFramework</artifactId>
    <version>0.0.1-SNAPSHOT</version>
    <properties>
        <project.build.sourceEncoding>UTF-8</project.build.sourceEncoding>
        <maven.compiler.source>1.8</maven.compiler.source>
        <maven.compiler.target>1.8</maven.compiler.target>
    </properties>
    <dependencies>
        <!-- https://mvnrepository.com/artifact/io.appium/java-client -->
        <dependency>
            <groupId>io.appium</groupId>
            <artifactId>java-client</artifactId>
            <version>6.1.0</version>
        </dependency>
        <!-- https://mvnrepository.com/artifact/org.seleniumhq.selenium/selenium-java -->
        <dependency>
            <groupId>org.seleniumhq.selenium</groupId>
            <artifactId>selenium-java</artifactId>
            <version>3.13.0</version>
        </dependency>
        <!-- https://mvnrepository.com/artifact/org.testng/testng -->
        <dependency>
            <groupId>org.testng</groupId>
            <artifactId>testng</artifactId>
            <version>6.14.3</version>
        </dependency>
        <dependency>
            <!-- https://mvnrepository.com/artifact/org.apache.poi/poi -->
            <groupId>org.apache.poi</groupId>
            <artifactId>poi</artifactId>
            <version>3.15</version>
        </dependency>
        <dependency>
        <!-- https://mvnrepository.com/artifact/commons-io/commons-io -->
        <dependency>
            <groupId>commons-io</groupId>
            <artifactId>commons-io</artifactId>
            <version>2.4</version>
        </dependency>
        <dependency>
</dependencies>

<build>
    <plugins>
        <plugin>
https://mvnrepository.com/artifact/org.apache.maven.plugins/maven-surefire-plugin
        <groupId>org.apache.maven.plugins</groupId>
        <artifactId>maven-surefire-plugin</artifactId>
        <version>2.18.1</version>
        <configuration>
<reportsDirectory>${project.basedir}/ReportNG Reports</reportsDirectory>
    <suiteXmlFiles>
            <suiteXmlFile>testsuite/taskTestsSuite.xml</suiteXmlFile>
    </suiteXmlFiles>
<testFailureIgnore>true</testFailureIgnore>
</configuration>
</plugin>

</plugins>
</build>
</project>
Annotation Use In The Program
Annotation is a feature introduce and use to add metadata to java code. This will allow you to add some information to an existing data object in your source code. It can be applied to classes, methods, variables, and parameters.
@BeforeSuite ,@AfterSuite ,@BeforeTest etc.
To read more details about the TestNG Annotation please refer to this link.
So, Here is the first scenario:-
import org.testng.annotations.AfterClass;
importorg.testng.annotations.AfterMethod;
importorg.testng.annotations.BeforeClass;
import org.testng.annotations.BeforeMethod;
import org.testng.annotations.Test;
publicclass DashboardTests {
    public DriverFactory driverFactory;
    public AppiumDriver<MobileElement>driver;
    public AppiumDriver<MobileElement>driver2;
    public DriverFactoryBrowser driverFactory2;
@BeforeMethod(alwaysRun = true)
publicvoid startUp() throws IOException {
this.driverFactory = newDriverFactory ();
this.driver = DriverFactory.getDriver();
}

@Test
publicvoid verifyLoginWithPin()
{
log.info("verifyLoginWithPin() test started");
softAssert = new SoftAssert();
loginWorkflows.loginIntoVeociApp(driver, Config.USER_NAME, Config.PASSWORD);
softAssert.assertEquals(homePage.getDialogText(driver), Home.HOME_TITLE);
softAssert.assertAll();
log.info("verifyLoginWithPin() test completed");
ReportListener.logToReport("Pin login verified successfully");
}

@AfterClass
publicvoid tearDown()
{
driver.closeApp();
DriverFactory.unloadDriver();
}
}
Test Class
Publicclass LoginWorkflows extendsBasePage {
publicvoid loginIntoVeociApp(AppiumDriver<MobileElement>driver,String userName,String password) {
loginPage.hardWait(2000);
loginPage.enterUserName(driver, userName);
loginPage.clickOnNextButton(driver);
loginPage.hardWait(6000);
loginPage.enterPassword(driver, password);
loginPage.hardWait(6000);
loginPage.clickOnSubmitButton(driver);
loginPage.enterPinToAccess(driver);
}
Page Class
publicclass LoginPage extends BasePage {
By emailField = By.xpath("//*[@text='EMAIL']/..//android.widget.EditText");
By nextBtn = By.xpath("//android.widget.Button[@text='NEXT']");
By passwordField =By.xpath("//*[@text='Password']/..//android.widget.EditText");
By submitBtn = By.xpath("//android.widget.Button[@text='SUBMIT']");
By dialogText = By.xpath("//android.widget.TextView[@text='Home']");
publicvoidenterUserName(AppiumDriver<MobileElement>driver,String userName) {
enterData(driver, emailField, userName);
}
publicvoidclickOnNextButton(AppiumDriver<MobileElement>driver) {
    waitForElementVisibility(driver, nextBtn);
    click(driver, nextBtn);
}

publicvoidenterPassword(AppiumDriver<MobileElement>driver, String password) {
    waitForElementVisibility(driver,passwordField);
    enterData(driver, passwordField, password);
}
public String getDialogText(AppiumDriver<MobileElement>driver) {
    hardWait(3000);
    return getText(driver, dialogText);
}
publicvoidclickOnSubmitButton(AppiumDriver<MobileElement>driver) {
click(driver, submitBtn);
}
}
Related Articles


