
Uploading files is a crucial aspect of web application Testing, and testRigor simplifies this process through its scripting capabilities. In this blog we will explore how to upload files[Images] in testRigor using variables, allowing for flexibility and reusability in your test scripts.
Pre-Requisites:
Before starting, ensure you have
- Access to Test Rigor and a project setup for testing.
- Basic familiarity with testRigor’s scripting interface.
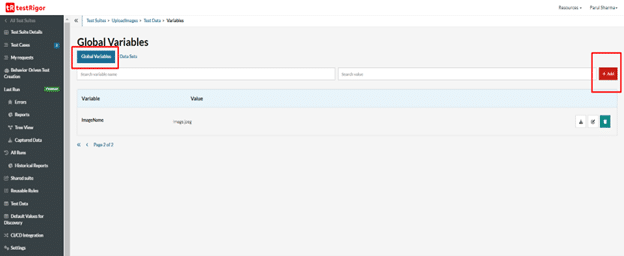
Step 1: Add Global Variables in the TestData Section
- Firstly, you have to navigate to your Project in the testRigor
- Go to the “Test Data” section
- Add Global variables as File type and select the file that you want to upload, you can take reference with the screenshots given below.
Click on the Add Button
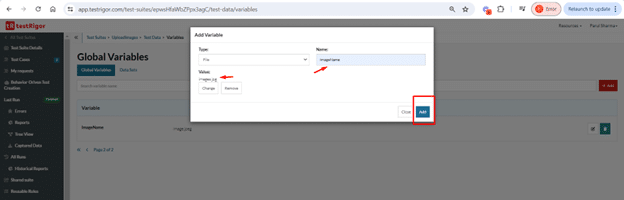
Select Type as File
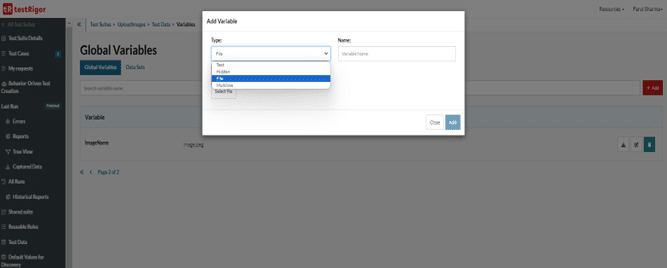
Enter Variable Name and select your File and then click on Add Button
Step 2: Go back to the Test Case Section
Enter Test Case Description and start adding the test steps.
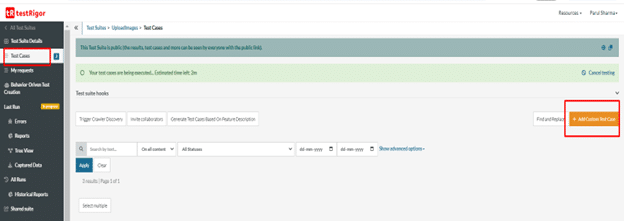
Click on Test Cases and click on Add Customer TestCases
Step 3: Use Variable for File Uploads
Use that variable to upload files in your scenarios. Testrigor allows you to enter these variables into the file input field for seamless file uploads
Next, use those variables to upload files in your test scenarios. Testrigor allows you to enter these variables into file input fields for seamless file uploads.
Syntax:
- enter the stored value “ImageName” into the input file “Upload Image or Video”
- “Image Name” : It is the variable that we have created in the test Data
- “Upload Image or Video” is the label value (text you can see below the screenshot), an attribute of the file upload Image.
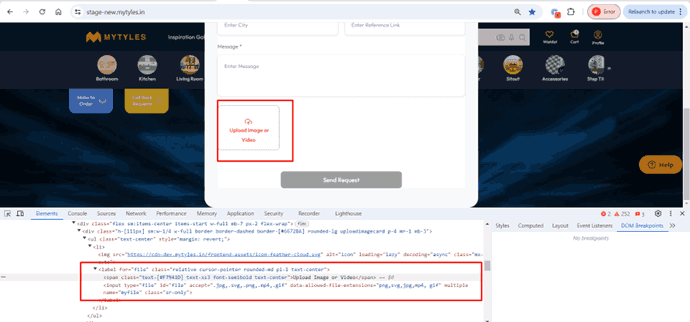

You can use attribute values like label text value(Upload Image or Video), label class value, or input attribute value like input id(file), etc. to tell test rigor which UI element is the file uploader, that is it has input type = file.
TestCase:
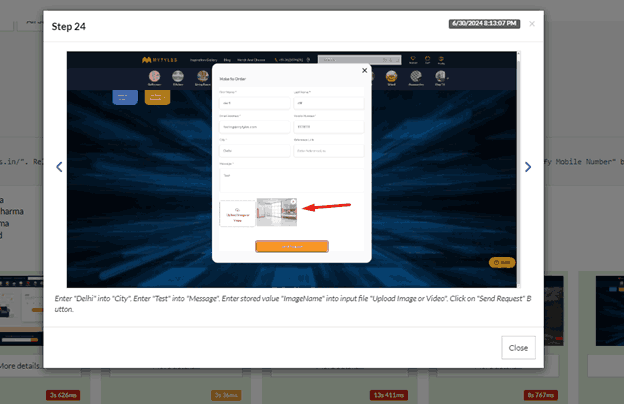
Open URL "https://stage-new.mytyles.in/"

reload

click on the "Make to Order" button

enter "Delhi" into "City"

enter "Test" into "Message"

enter stored value "ImageName" into input file "Upload Image or Video"

click on the "Send Request" Button
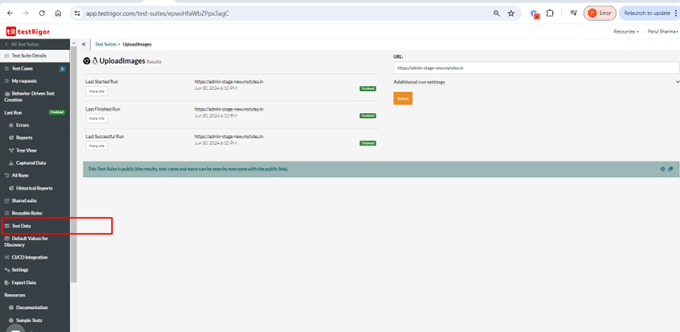
In the given below screenshot, you see the Image is getting uploaded
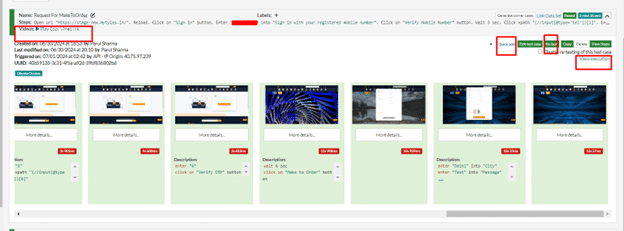
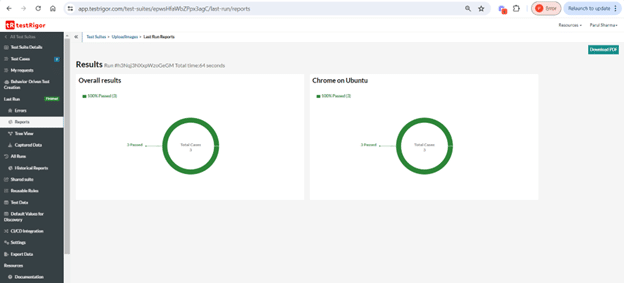
View the test Results
Once the test is executed, you can review detailed information about the test run, including the execution status, screenshots, time spent, error messages, logs, and a video recording of the test execution.
Conclusion
Uploading files in testRigor using variables enhances test script’s flexibility and maintainability. By defining and utilizing variables for file paths or names, you can streamline your testing process and ensure accurate file uploads across different test scenarios.
Related Post:-


