
Jenkins Setup
- Go to the Java download page and download Java Jdk Version 11.
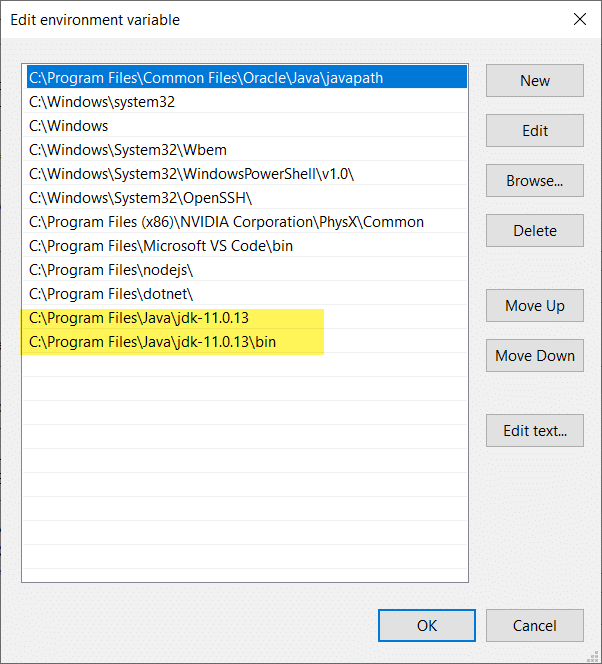
- Add Java Paths to Environment Variables.
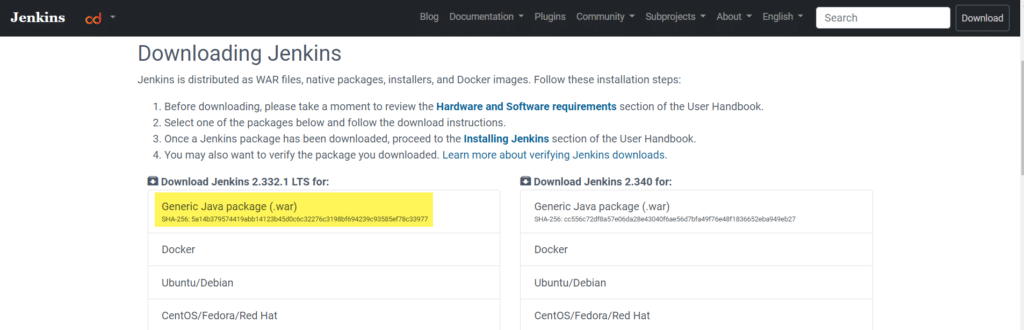
3. Go to the Jenkins download page and download the latest LTS Jenkins. war file.
- Open a Command prompt and move to the location where the downloaded jenkins.war is present and enter the following command. If port 8080 is not available use port 9090.
java -jar jenkins.war –httpPort=8080

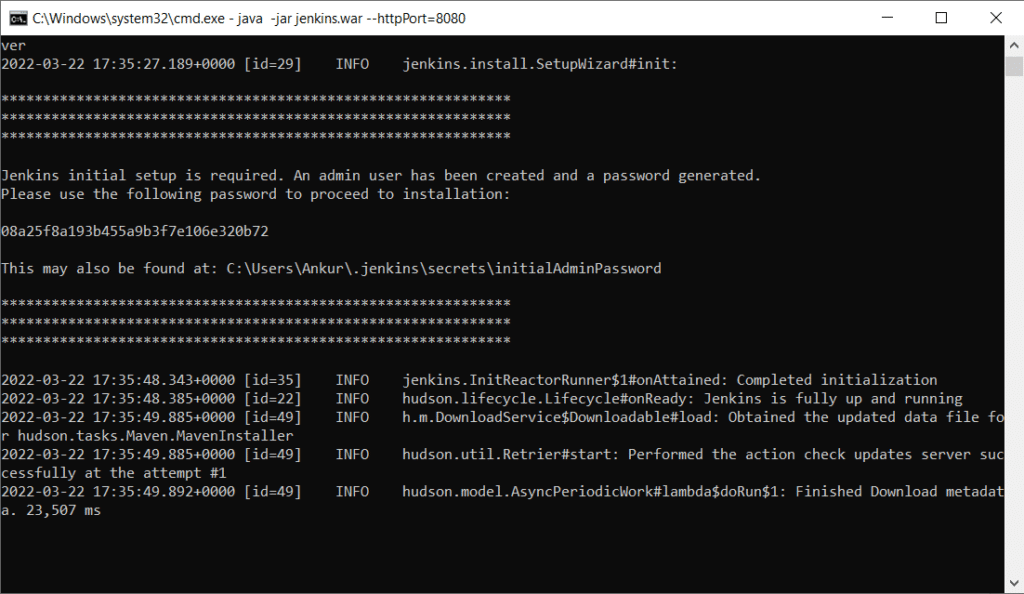
- Save the admin password generated in the previous step to continue. From the previous step the admin password is 08a25f8a193b455a9b3f7e106e320b72 which can be retrieved from C:\Users\Ankur\.jenkins\secrets\initialAdminPassword.
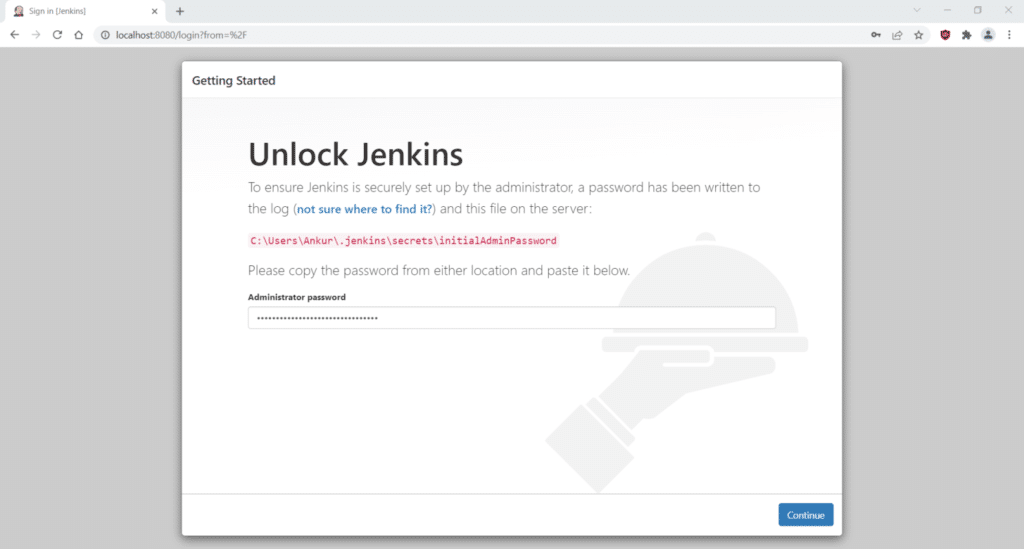
- Open the browser and navigate tohttp://localhost:8080/ to continue.
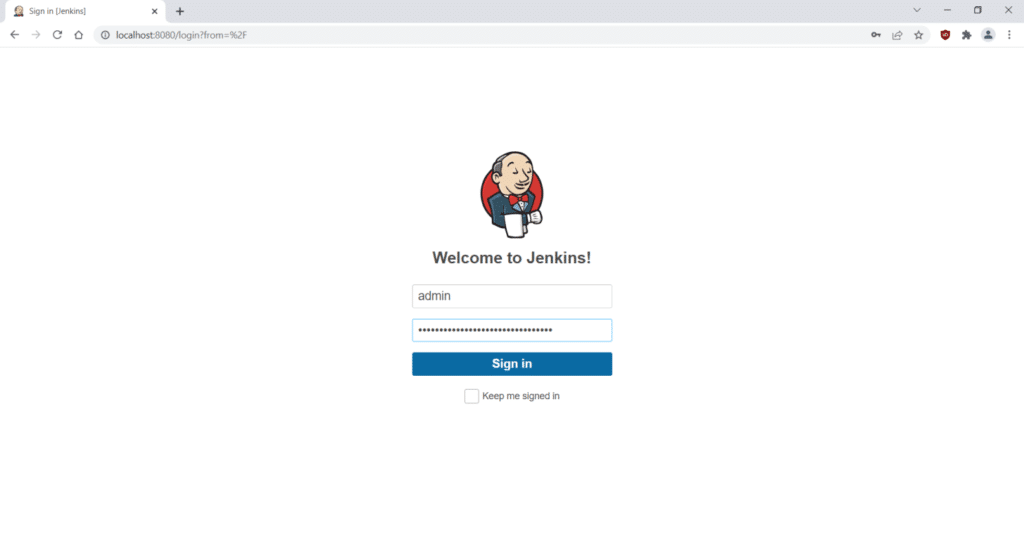
- Enter the admin password and click continue.
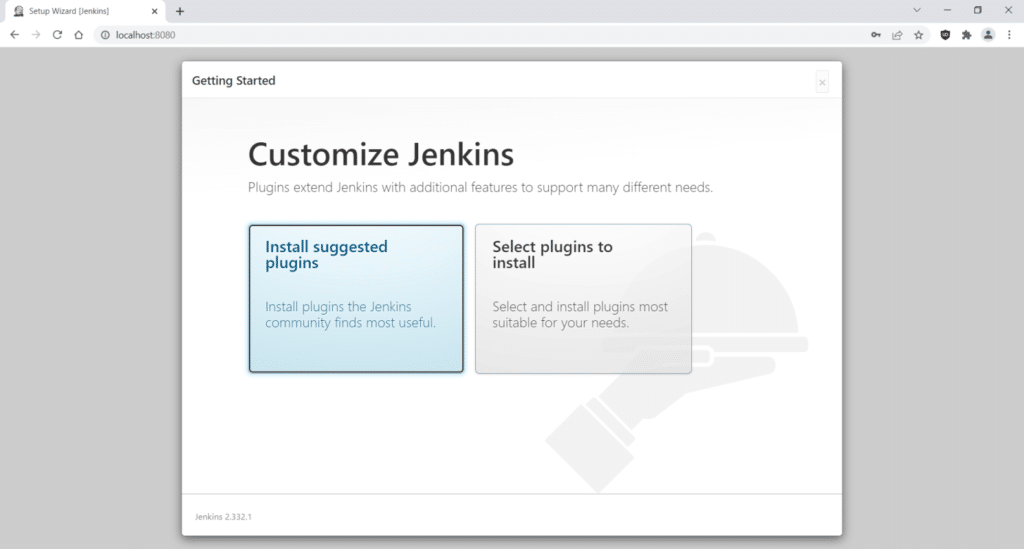
- Click on install suggested plugins and wait for the plugins to install.
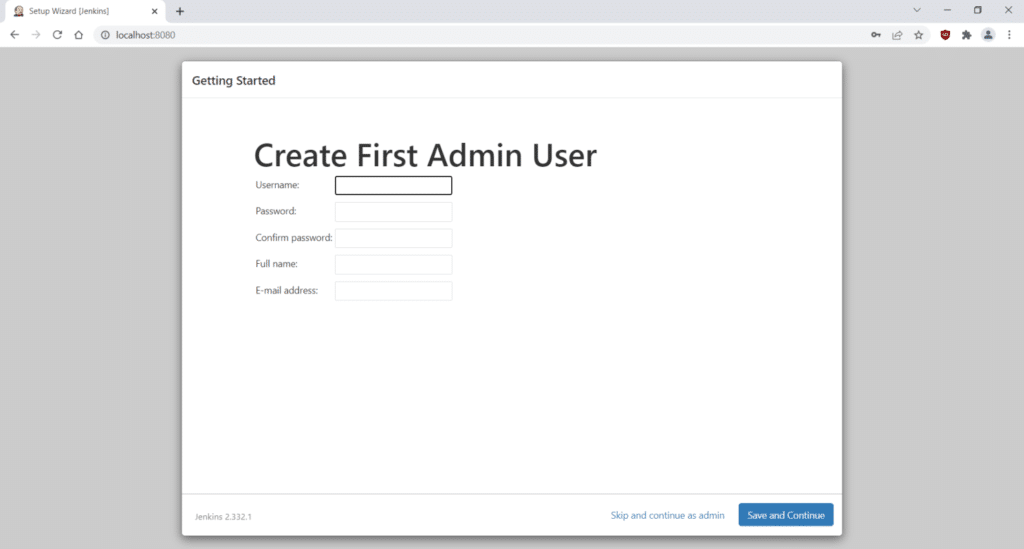
- Once the plugins are installed either continue with the admin account or create a new account.
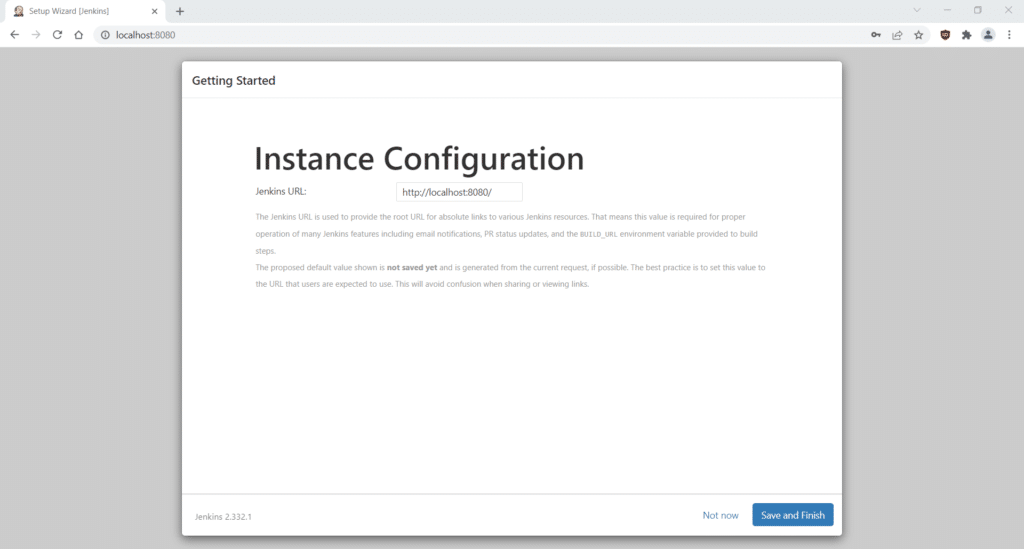
- Click on Save and Finish
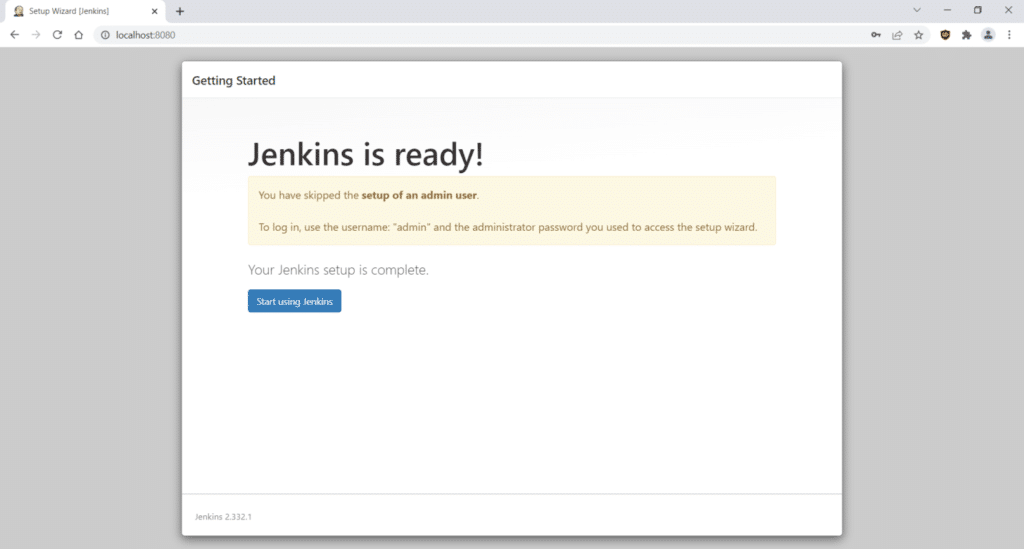
- Click on Start Using Jenkins
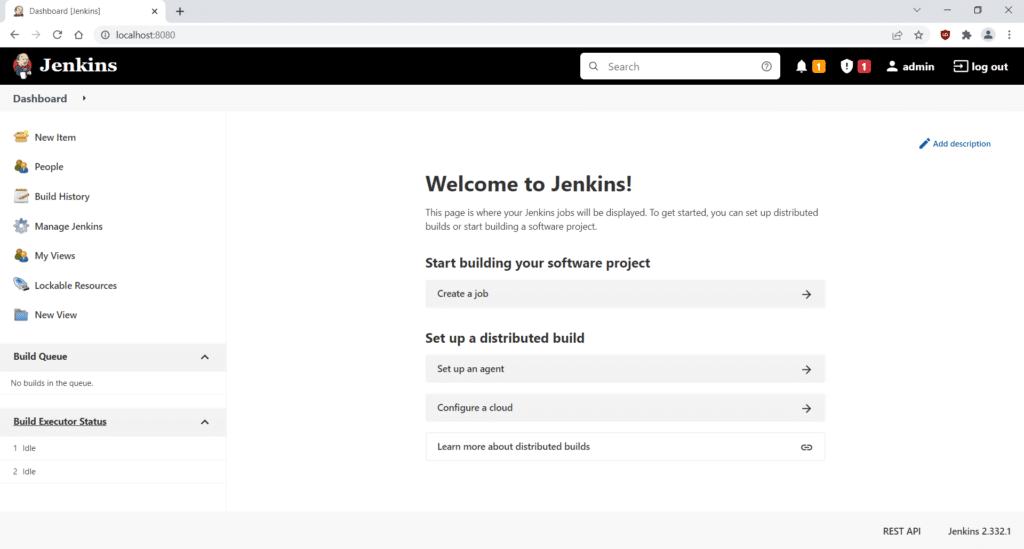
- To login into Jenkins navigate to http://localhost:8080/or http://localhost:port/after starting the Jenkins server using the following command.
java -jar jenkins.war –httpPort=8080.
java -jar jenkins.war –httpPort=port.
If you are using an admin account then user name will be admin and the password can be retrieved from C:\Users\Ankur\.jenkins\secrets\initialAdminPassword.
NUnit Selenium C# Framework Integration
- Refer to NUnit Selenium C# Framework for Jenkins integration
- Create a new Freestyle project for the framework


- Select This project is parameterized option to add run-time parameters, I am passing browser options as parameters.

- Give project path after selecting the Use custom workspace option. If the project is present on git, we can use the Source Code Management option and add the git project path.
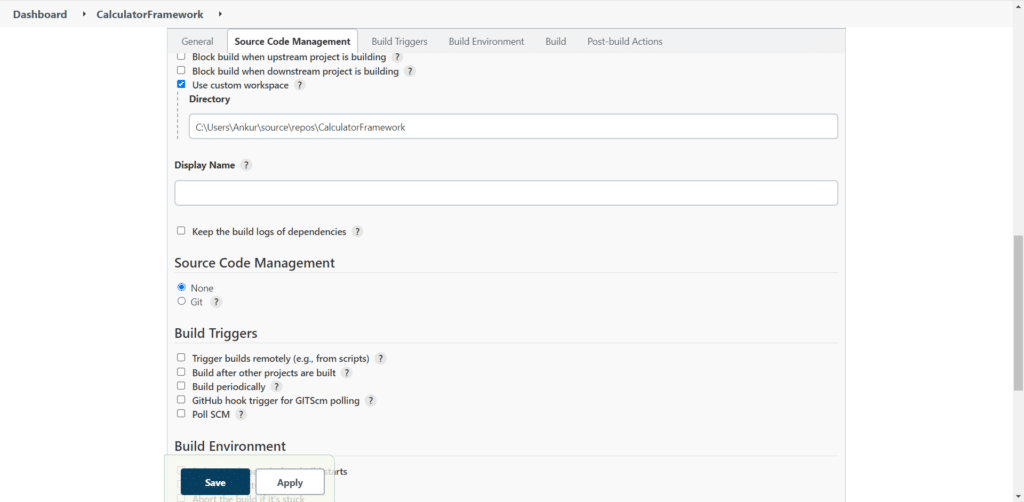
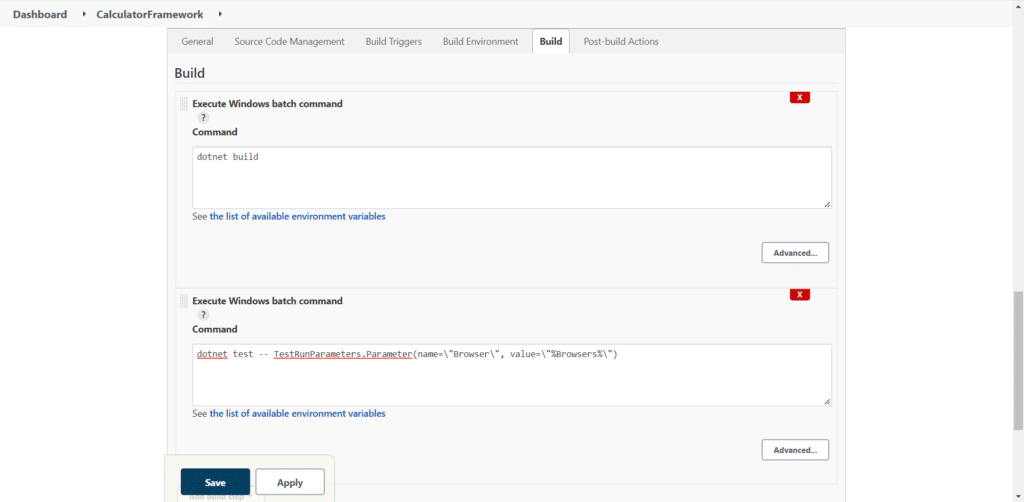
- Use Execute Windows batch Command to add the project build and execution commands.
Dotnet build
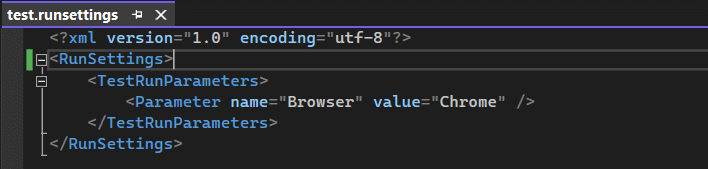
To pass parameters at run time we use the .runsettings file. In our project, we are using browser parameters with the default value Chrome. To use the .runsettings file we can use the following test command
Dotnet test -s CalculatorFramework/test.runsettings
If we want to pass browser value at run time from Jenkins then we can use the following test command. Here browser value be replaced by the Jenkins choice parameter value.
Dotnet test — TestRunParameters.Parameter(name=\”Browser\”, value=\”%Browsers%\”)
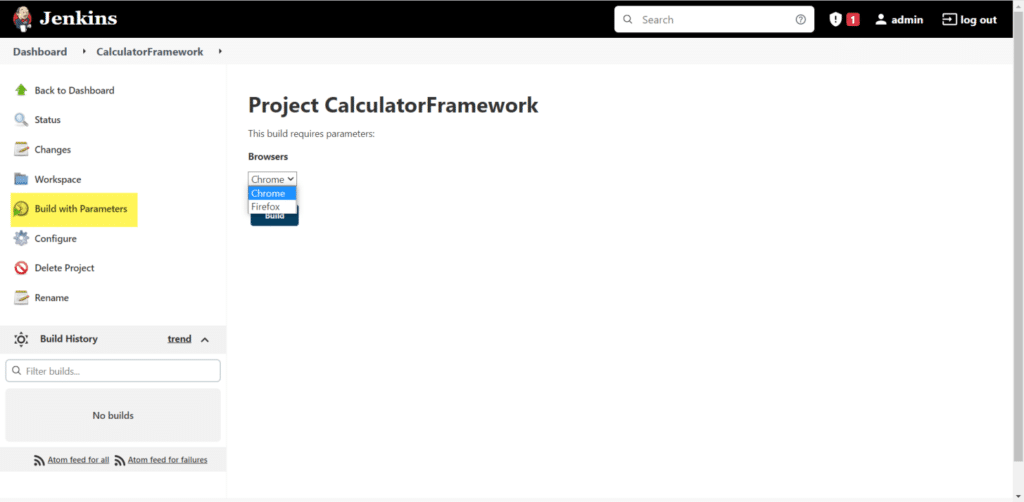
- Save the project and Select the Build with Parameters option to build the project and run the automation scripts with the selected browser option.
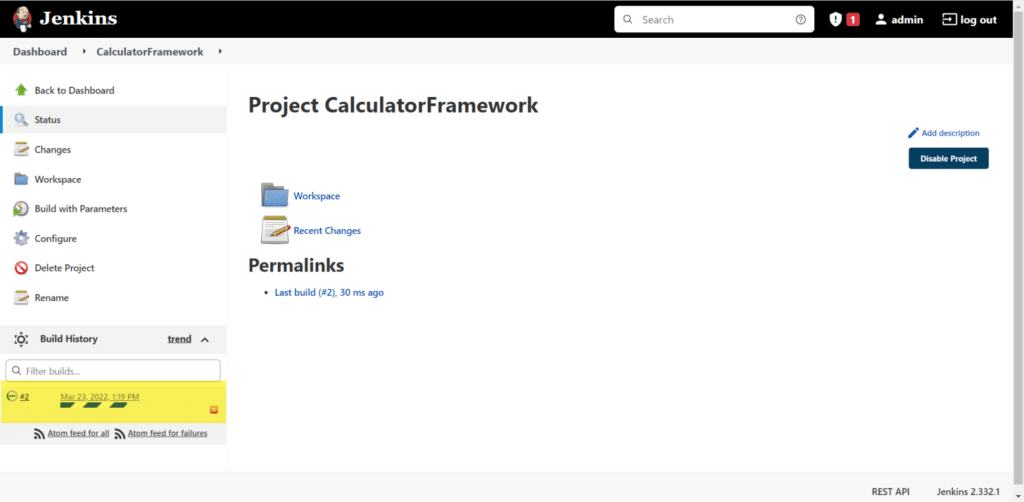
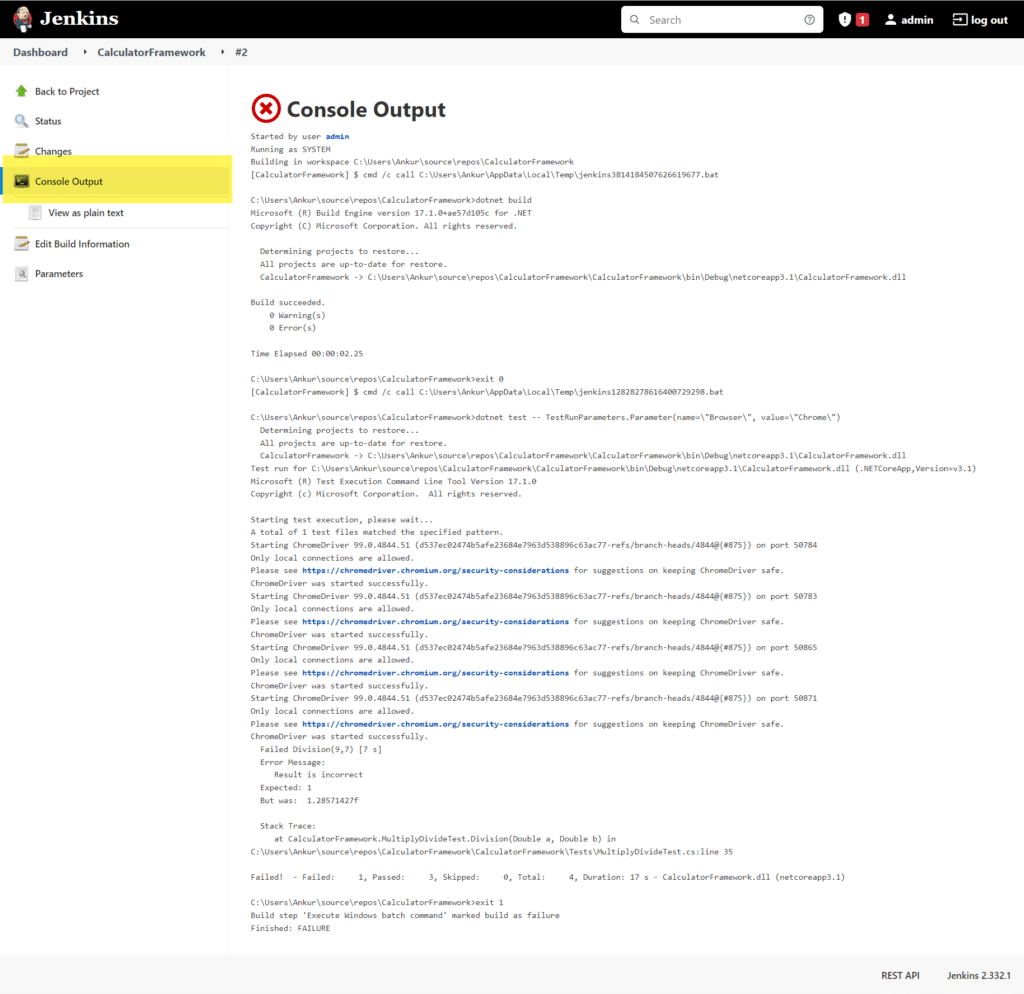
- After we click on the build button, we can navigate to the console output of the running job to view the results.
Read Also:- Setting Up Jenkins on Amazon EC2 Ubuntu Instance


