
Sonarqube Spring Boot
Spring boot is a java based framework that is used to develop web services. It provided many functionalities like Autowire, component scanner, Rest controller, and microservice environment to develop the web service faster and easier. It also provides stand-alone and production-ready spring applications
Requirements
- JDK > java 8
- Maven > 8.6
- Sonar Scanner
- Sonar Qube
Setup of Third-Party Application
-
JDK Setup
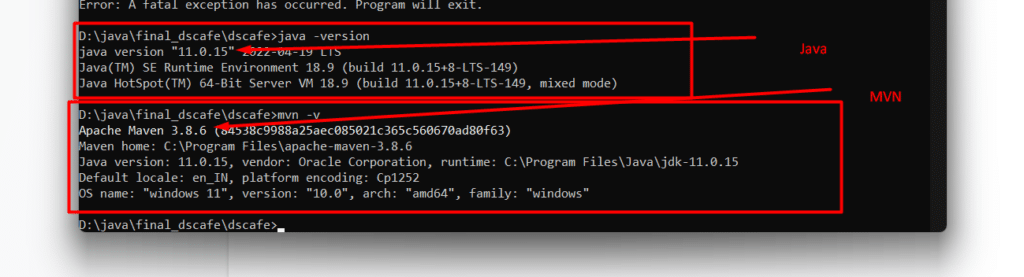
Download the JDK and unzip and install it. after that check the java version in cmd by running this command java -v
-
Setup Maven
Once JDK will setup then Download the maven and add the path in the environment variable after that you can check whether maven install or not by running the command in cmd “MVN -version”

-
Setup Sonarqube
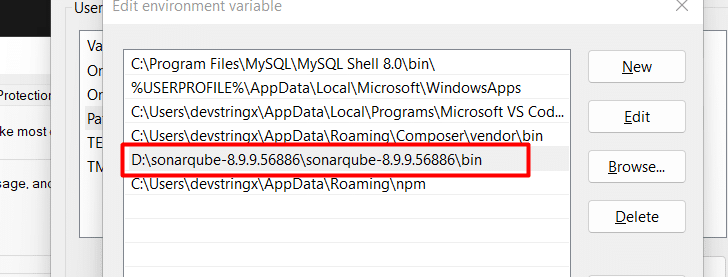
Download Sonar Qube and extract it to a directory. Copy the path of the bin folder and add this also in the env variable.
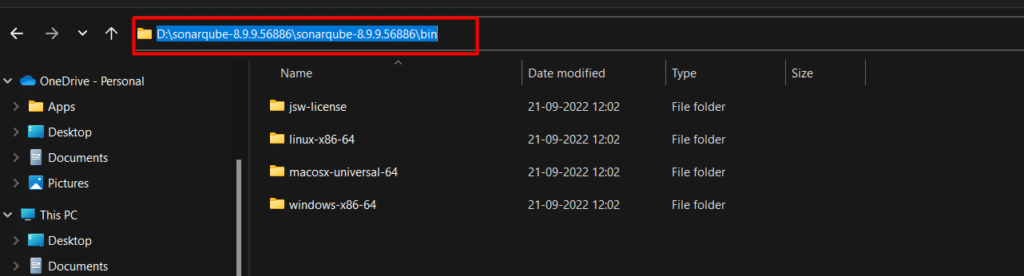
Add this path to the environment variable
-
Setup SonarScanner
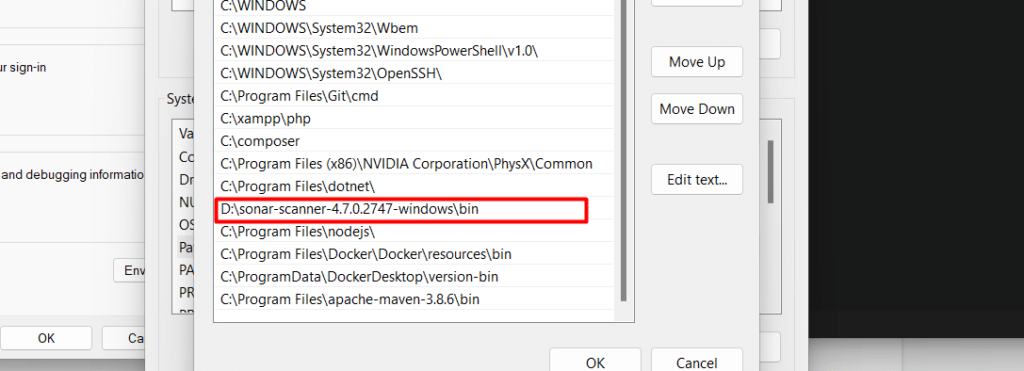
Download the sonar scanner and unzip it and add the path in the environment variable
Now you have completed the setup of third party application so we can proceed with the spring boot application.
Recommended to Read- What is Spring Boot in Java?
Create a Spring Boot Application With Spring Initializr
To create a spring boot application using spring initializer.
Add the below dependencies in your pom.xml file
<!-- https://mvnrepository.com/artifact/org.jacoco/jacoco-maven-plugin -->
        <dependency>
            <groupId>org.jacoco</groupId>
            <artifactId>jacoco-maven-plugin</artifactId>
            <version>0.8.6</version>
        </dependency>
Add the plugin in your pom.xml file also
<plugin>
                <groupId>org.jacoco</groupId>
                <artifactId>jacoco-maven-plugin</artifactId>
                <version>0.8.6</version>
                <executions>
                    <execution>
                        <goals>
                            <goal>prepare-agent</goal>
                        </goals>
                    </execution>
                    <execution>
                        <id>report</id>
                        <phase>prepare-package</phase>
                        <goals>
                            <goal>report</goal>
                        </goals>
                    </execution>
                </executions>
            </plugin>
The final Pom.xml file will look like this
<?xml version="1.0" encoding="UTF-8"?>
<project xmlns="http://maven.apache.org/POM/4.0.0" xmlns:xsi="http://www.w3.org/2001/XMLSchema-instance"
    xsi:schemaLocation="http://maven.apache.org/POM/4.0.0 https://maven.apache.org/xsd/maven-4.0.0.xsd">
    <modelVersion>4.0.0</modelVersion>
    <parent>
        <groupId>org.springframework.boot</groupId>
        <artifactId>spring-boot-starter-parent</artifactId>
        <version>2.7.4</version>
        <relativePath/> <!-- lookup parent from repository -->
    </parent>
    <groupId>com.example</groupId>
    <artifactId>demo</artifactId>
    <version>0.0.1-SNAPSHOT</version>
    <name>demo</name>
    <description>Demo project for Spring Boot</description>
    <properties>
        <java.version>17</java.version>
    </properties>
    <dependencies>
        <dependency>
            <groupId>org.springframework.boot</groupId>
            <artifactId>spring-boot-starter-web</artifactId>
        </dependency>

        <dependency>
            <groupId>org.springframework.boot</groupId>
            <artifactId>spring-boot-starter-test</artifactId>
            <scope>test</scope>
        </dependency>

        <!-- https://mvnrepository.com/artifact/org.jacoco/jacoco-maven-plugin -->
        <dependency>
            <groupId>org.jacoco</groupId>
            <artifactId>jacoco-maven-plugin</artifactId>
            <version>0.8.6</version>
        </dependency>
    </dependencies>

    <build>
        <plugins>

            <plugin>
                <groupId>org.jacoco</groupId>
                <artifactId>jacoco-maven-plugin</artifactId>
                <version>0.8.6</version>
                <executions>
                    <execution>
                        <goals>
                            <goal>prepare-agent</goal>
                        </goals>
                    </execution>
                    <execution>
                        <id>report</id>
                        <phase>prepare-package</phase>
                        <goals>
                            <goal>report</goal>
                        </goals>
                    </execution>
                </executions>
            </plugin>
            <plugin>
                <groupId>org.springframework.boot</groupId>
                <artifactId>spring-boot-maven-plugin</artifactId>
            </plugin>
        </plugins>
    </build>

</project>
Create a Project in Sonarqube
After adding the dependencies install the maven dependencies in your application. now we will create a project in Sonarqube. So let’s start the Sonarqube by running the following file in cmd “StartSonar.bat”
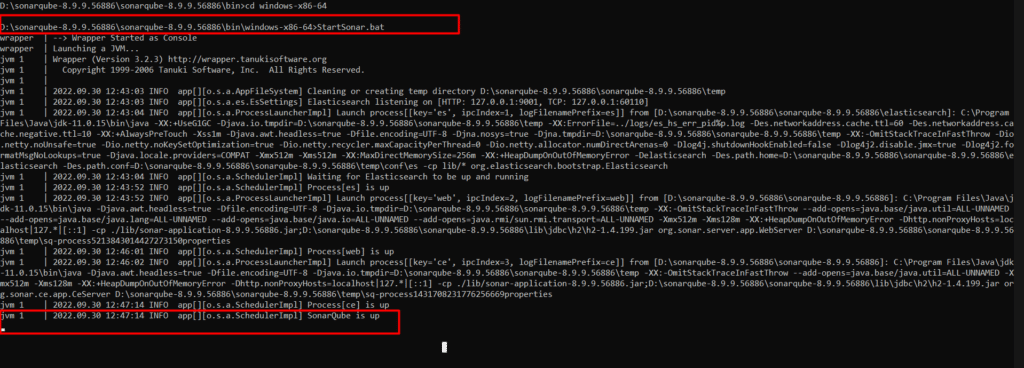
When your sonar Qube up visits this URL in the browser http://localhost:9000/
The first-time password for the sonarqube will be the
- Username: admin
- Password: admin
Reset this password just after login
Now create a project
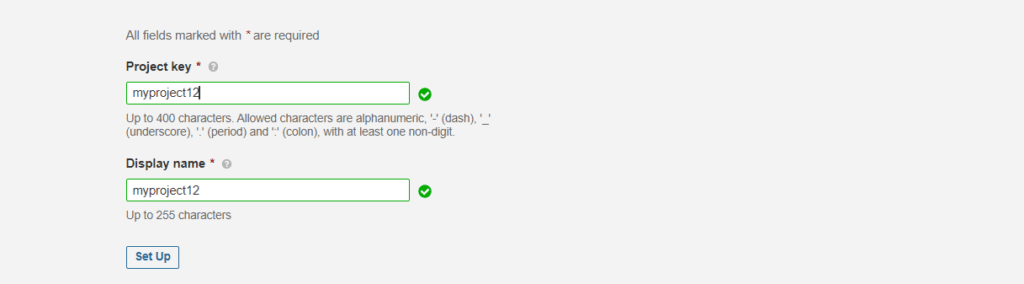
1st Step: Click on add project and select manually
2nd Step: Add your project name and click setup
3rd Step: Add the project name in the token and click generate

4th Step: Click on continue on the next screen
5th Step: Then click the maven tab and you will see the maven command like this
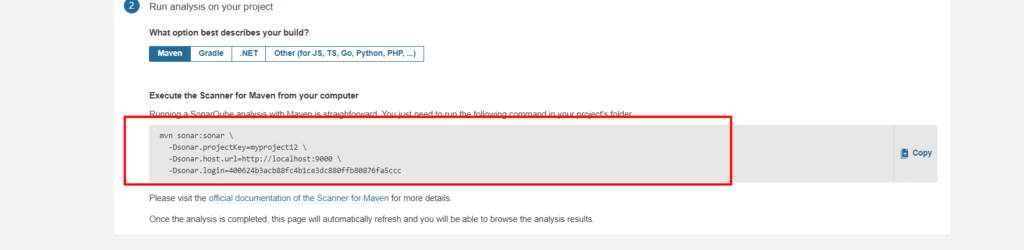
Edit this command and remove the extra line break and forward slash
mvn sonar:sonar -Dsonar.projectKey=myproject12 -Dsonar.host.url=http://localhost:9000 -Dsonar.login=400624b3acb88fc4b1ce3dc880ffb80876fa5ccc
Run the command in cmd at the root of your project
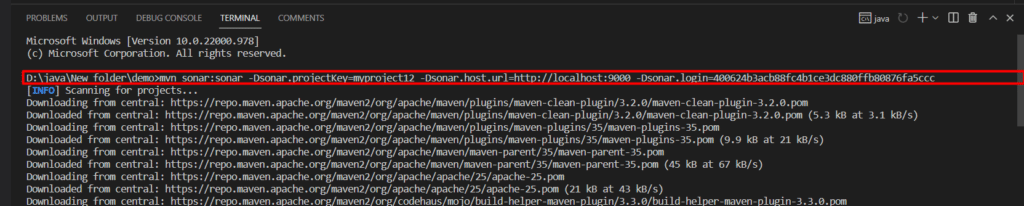
Wait for Till build success
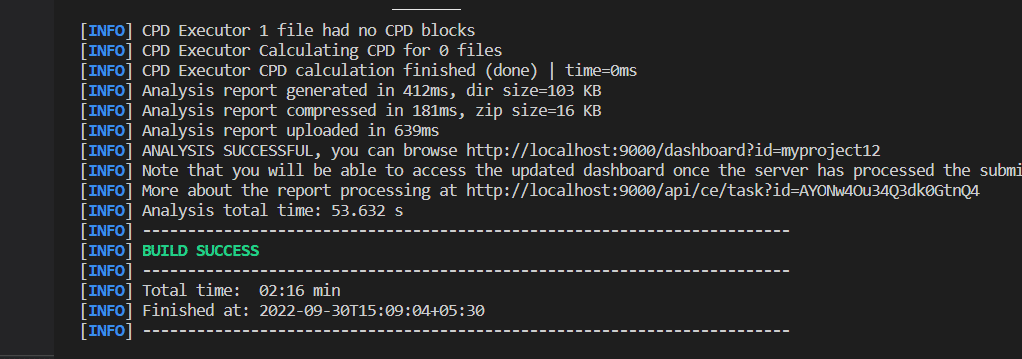
Now let’s refresh the sonar dashboard

If you are interested in even more development-related articles and information from us here at Devstringx, then we have a lot to choose from for you.


