
What Is AWS?
- AWS stands for Amazon Web services, Which was launched by Amazon.
- AWS is a cloud platform service.
- The AWS service is provided by Amazon which provides different IT resources on demand. It provides different services such as IaaS, PaaS, and SaaS.
What Is AWS S3?
- S3 is Object-based storage that can store images, word files, and pdf files in a very safe manner.
- The files which are stored in S3 can be from 0 Byte to 5 TB.
- S3 has unlimited storage.
- In S3, Files are stored in a Bucket. A bucket is like a normal folder that stores the files.
- In S3, file names should be unique. Each Bucket contains a DNS address.
S3 URL Example
https://s3-eu-west-1.amazonaws.com/bucketName
Here,
s3-EU-west-1 is a region name.
BucketName- It can be anything, a user-defined name.
How to Store Data In AWS S3?
As we had learned earlier, S3 is object-based Storage. So In S3, A Objects consist of the following:
- Key: It is simply the name of the object. The name can be anything but it should be unique.
- Value: It is simply the data inside a file which is made up of a sequence of bytes.
- Version ID: When we add an object to the S3 then Version ID is a string generated by S3 that uniquely identifies the object.
- Metadata: It is the data about data that is getting stored by the user in S3. Metadata can assign to the objects which are stored in Amazon S3.
- Subresources: The subresource mechanism uses to store information related to an object.
- Access control information: In the S3 files, we can apply for individual permissions.
Recommended to Read- Install Jenkins in AWS ec2 Ubuntu Instance
Steps to Create S3 Bucket
- 1st Step
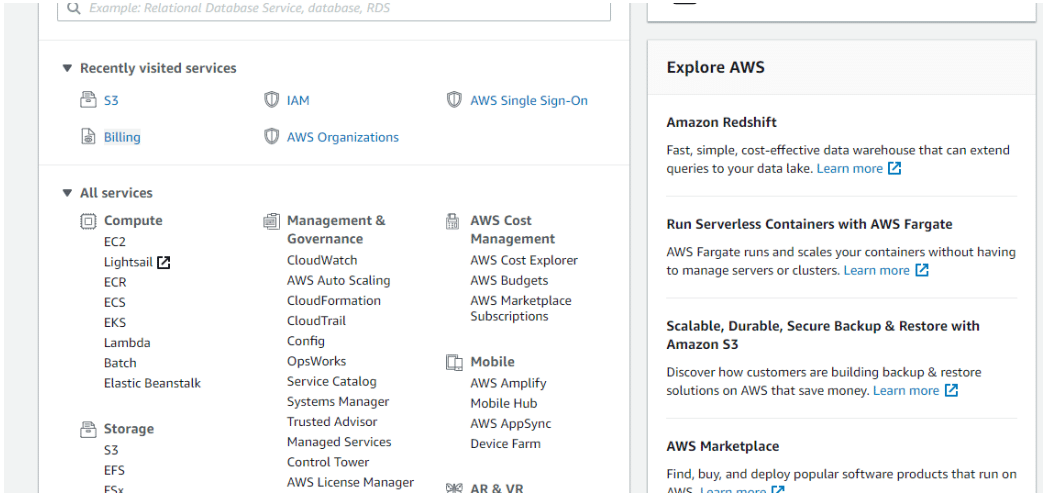
Sign in to the AWS Management console. After login, you can see below screen
- 2nd Step
Go to the S3 services. After clicking on S3, You will see the below page.
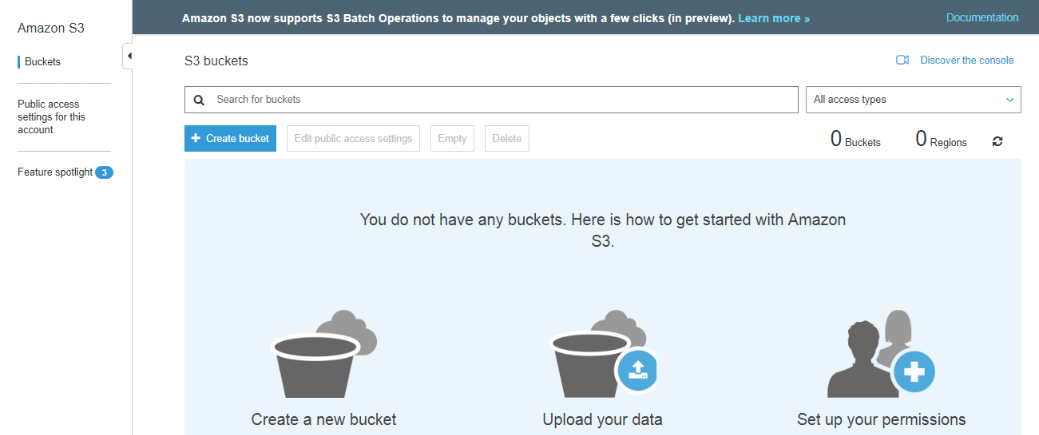
- 3rd Step
Now click on the “Create bucket”
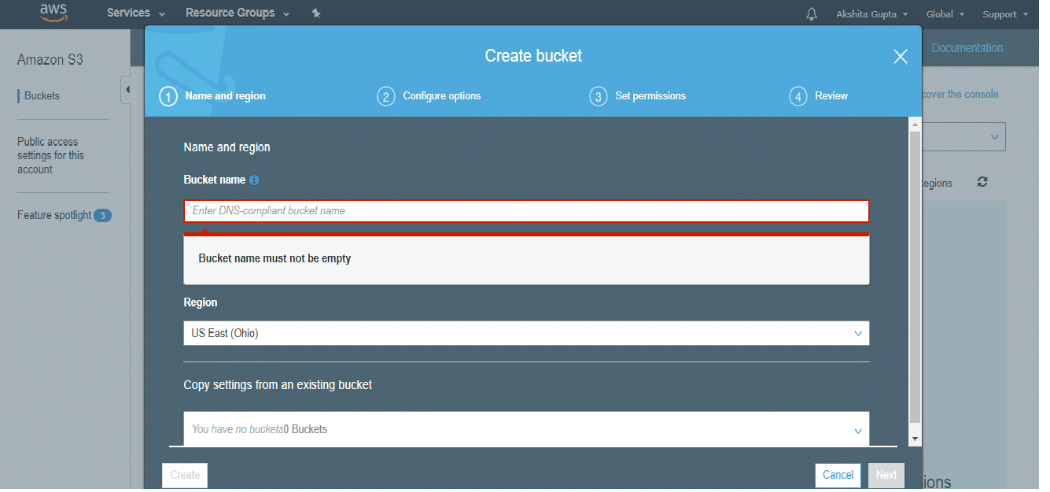
- 4th Step
Now Enter the bucket name which should look like DNS address.
Use Below mentioned rules to enter the bucket name-
- A bucket name should be unique.
- A bucket name should start with a lowercase letter,
- A bucket name must not contain any invalid characters.
- A bucket name should be 3 to 63 characters long.
- 5th Step
Now click on create button.
- 6th Step
Now Click on created Bucket name and you will be able to upload files as many as you want.
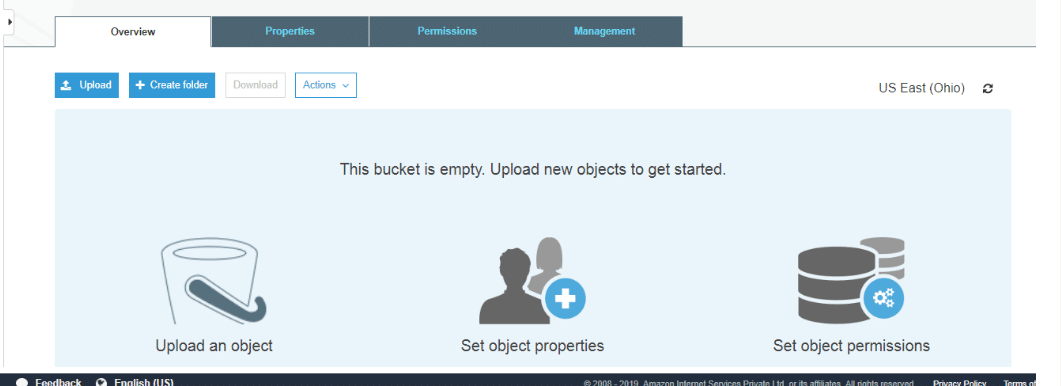
- 7th Step
To Upload files on S3 Bucket, Click on the “Upload” button.
By following the above steps, you can Create S3 Buckets and upload files on them.
If you are interested in even more development-related articles and information from us here at Devstringx, then we have a lot to choose from for you.


