Getting Started with SourceTree
SourceTree
It is a free Git desktop client for Windows and Mac. It provides full capabilities of Git through its simple interface.
SetUp
Go to the Sourcetree website and click the download button. From the ZIP file you downloaded, click the application file (EXE for Windows or DMG for Mac).
Note – This blog is considering Win installer.
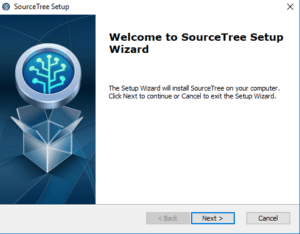
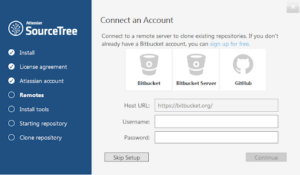
When you’ve successfully started the installer, you should see the Sourcetree wizard screen.
Follow the Next and Finish prompts to complete the installation.
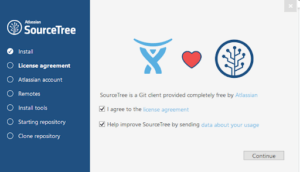
After you install, you’ll have to agree to the Atlassian Customer Agreement and hit Continue.
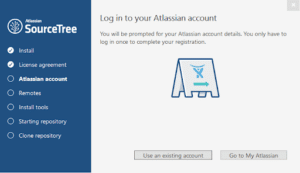
You need an Atlassian account to use Sourcetree. When you get to this screen, click either Use an existing account or Go to My Atlassian and follow the prompts to create a new account. Once you’ve got an account, you’ll be able to log in with Use an existing account.
If you want to connect to a remote hosting service, use the default options as you enter your Bitbucket or GitHub credentials and continue. Follow the prompts until you’re done with the setup.
If you aren’t ready to clone a repository, click Skip Setup.
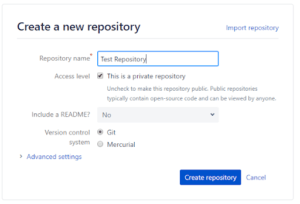
In this blog we will be choosing Bitbucket as our server application where our code repository will stay. Create your code repository, repository creation screen will be similar to the one shown in below screenshot.
Clone Remote Repository
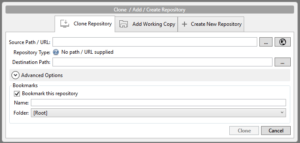
Above we have created one repository on Bitbucket, we will now clone it which will create a copy of a remote repository on our local system. To clone repository Clone/New button available on sourcetree topbar. When you click on Clone/New button, the screen will be shown, you can provide correct details and clone it easily as shown below.
Create Branch
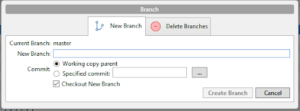
We should always be creating our work specific branch and do our work in that branch, to create new branch, NewBranch button is available on sourcetree. When you click on it, the screen will be shown as below, enter you branch name and hit create branch button, it will create your new branch in local from your current branch.
Stage Your Changes
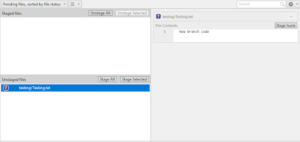
You need to stage your files which you would like to commit and push to the remote repository. There are two sections in sourcetree, Unstaged files and Staged files. All new added or updated files with code of line you can see under Unstaged files section where there are two options available: StageAll and StageSelected. You can stage specific files as well as all files at one time in sourcetree as shown below.
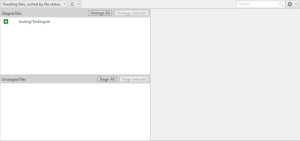
When you stage your files it will move up to Staged Files section as shown below.
Commit Your Work
After staging the files you can commit your staged files. There is a message box with commit button in sourcetree as shown below, whatever message you will provide with the commit will going to show on your commit history. Each commit requires a message.
Push Changes to Remote Repository
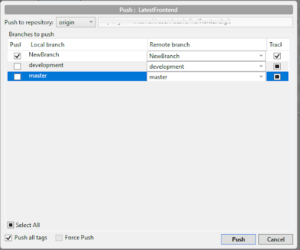
You can push your changes to the remote repository and all your commit files will be updated on the server. There is a Push Icon available on sourcetree. When you click on Push Icon, screen will be prompted as shown below. Select your branch and Push to send your changes to server.

